Beginner’s Guide to Stardew Valley: Goals, Tips, and Tricks
This guide is here to help you get started in the wonderful world of Stardew Valley. Here, you’ll find a few of the main goals you should aim for as you begin your journey.
Community Center: The Main Quest
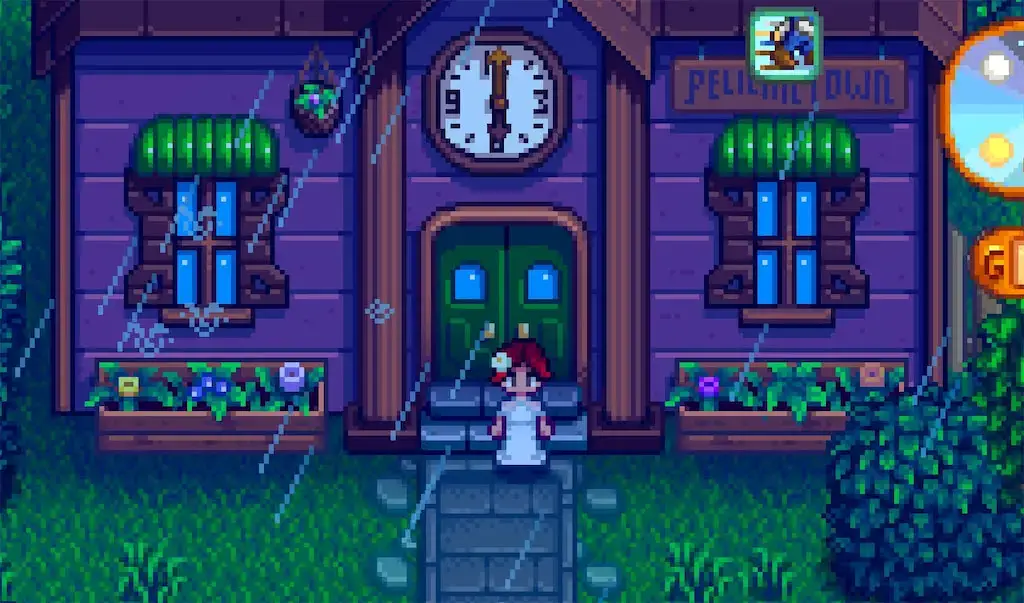
The first goal is the Community Center. At the beginning of the game, there are some tasks to help familiarize you with the gameplay, such as planting seeds given by the mayor, harvesting crops, meeting all the villagers, building a scarecrow to ward off crows, constructing a coop, and more.
If it doesn’t rain on the fifth day of spring, walk from the farm to the town to unlock the main storyline. The mayor will introduce you to the Community Center, which is the game’s real main quest. Completing other tasks won’t affect the unlocking of subsequent areas and quests, but the Community Center has a significant impact and unlocks important content.
Minecart: Easy Task for Fast Travel
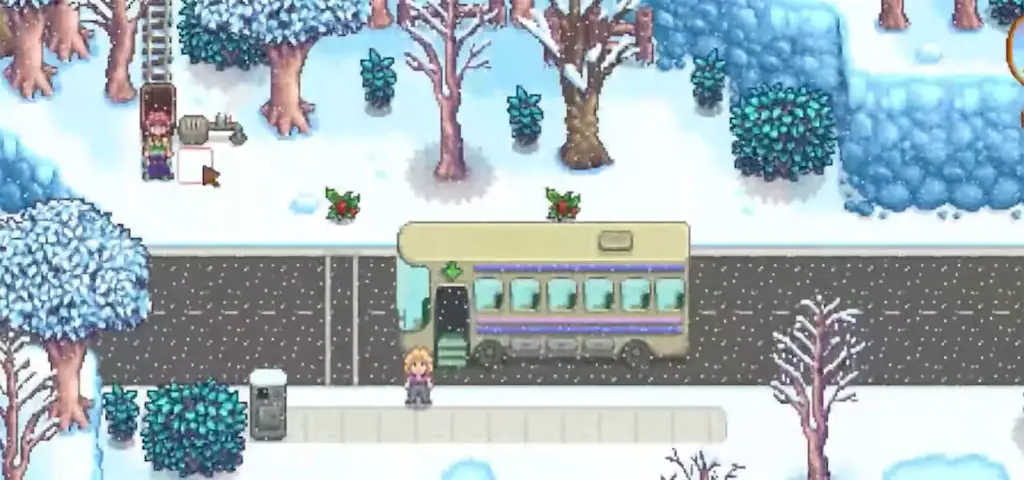
The first, Minecart is relatively easy to complete. After reaching level 80 in the mines, you can obtain all the necessary items, and completing it in spring will allow you to quickly travel to the mines and blacksmith, improving efficiency.
Vault and Desert: Unlocking New Features
The second goal is the Vault, which unlocks the bus stop and allows you to travel to the desert.
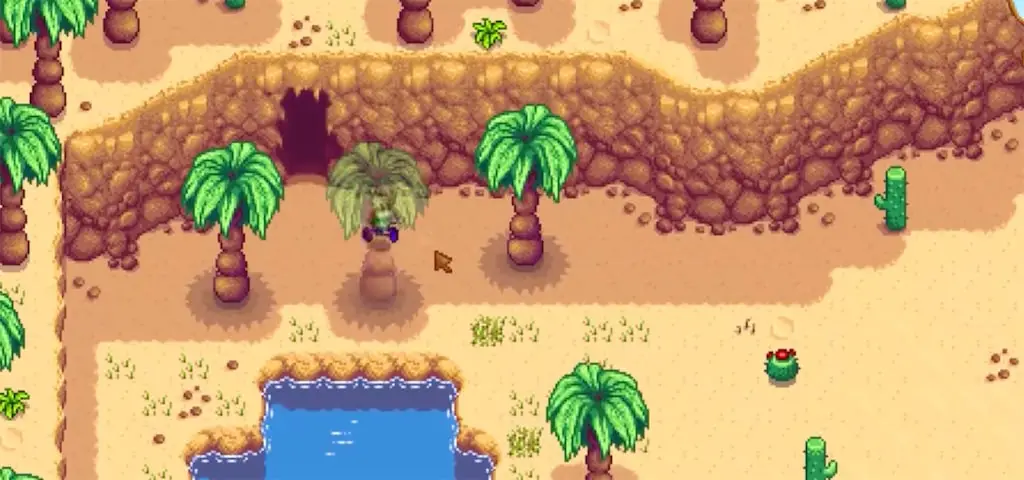
The desert map unlocks many new features. The desert cave in the upper left corner is the primary source of iridium ore, which can be used to craft crystalariums and iridium sprinklers or be turned into iridium bars to sell. The desert trader in the middle-right of the map offers exchanges for hard-to-get items. The Oasis shop in the lower-left corner sells high-profit crop seeds. The most lucrative crop in the game, starfruit seeds, can be purchased here. Unlocking the desert significantly improves the overall gameplay.
Greenhouse: Profitable Farming Year-Round
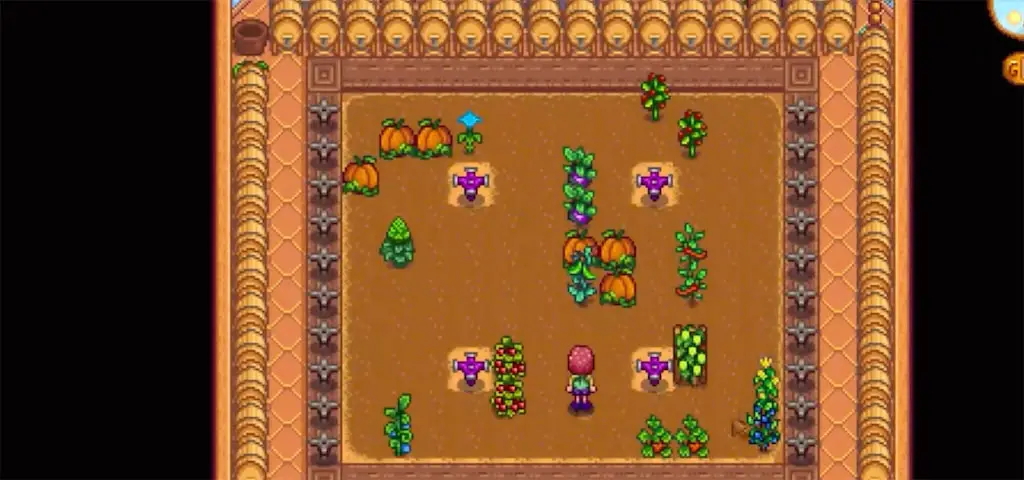
The third goal is the greenhouse, which has 120 tillable plots for growing crops regardless of season. Fertilized soil can persist there, and multi-harvest crops keep producing. A normal-quality Starfruit turns into Wine worth 2,250g at the base price; 3,150g applies only with the Artisan profession’s 40% bonus. A 116-bottle batch is therefore 261,000g base or 365,400g with Artisan, and processing a full batch at once requires 116 available Kegs for roughly a week. Treat that as a capacity example, not instant crop income.
Magical Buildings and Ginger Island: Expanding Your World
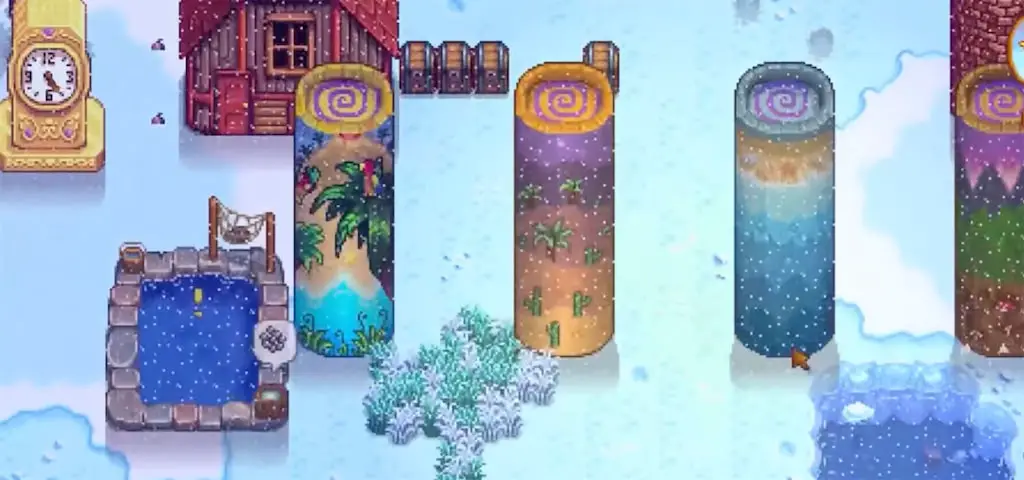
After completing the Community Center, there are two parallel goals: magical buildings and Ginger Island. Complete the Wizard’s post-Community Center quest to unlock his building book, then work toward the four Obelisks (3,000,000g total before materials). The 2,000,000g mobility item is the Return Scepter, sold by Krobus in the Sewers; it is not a Warp Totem or a Wizard building. Junimo Huts can collect crops, and the Gold Clock costs 10,000,000g.
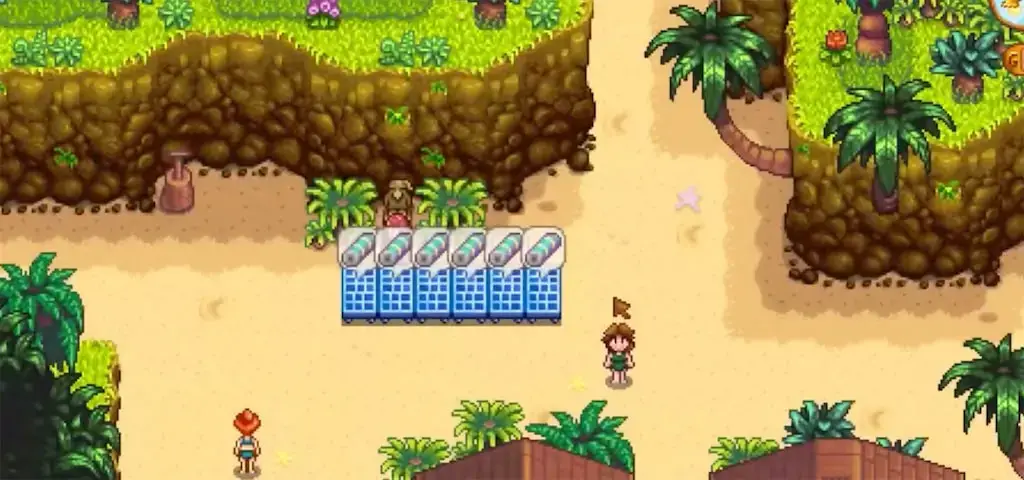
Ginger Island, introduced in version 1.5, enriches the game and enhances various aspects while reducing repetitive late-game activities. The Ginger Island farm is like a huge greenhouse, providing significant funds and accelerating income acquisition. You can even forgo planting crops on your home farm. The volcano dungeon strengthens your weapons and tools, increasing efficiency. The island merchant offers useful items like top-tier gems, and Mr. Qi’s walnut room has many powerful items and recipes. The Horse Flute can summon your horse, the Key To The Town grants access to town buildings, and the golden egg can hatch a golden chicken, among other things. Completing the Community Center and unlocking Ginger Island can speed up your accumulation of funds.
Collecting and Beautifying: Creating Your Dream Farm
Mr. Qi’s Walnut Room Perfection Tracker uses eleven categories. For vanilla 1.6.15, use this complete checklist:
| Tracker category | Weight | Requirement |
|---|---|---|
| Produce & Forage Shipped | 15% | Ship every item required by the shipping collection. |
| Obelisks on Farm | 4% | Build the Earth, Water, Desert, and Island Obelisks. |
| Gold Clock on Farm | 10% | Build the Gold Clock. |
| Monster Slayer Hero | 10% | Complete every Adventurer’s Guild monster-eradication goal. |
| Great Friends | 11% | Reach each villager’s tracker maximum: normally 10 hearts for non-dateable villagers and 8 for single marriage candidates without a bouquet; spouse/dating state changes the applicable cap. |
| Farmer Level | 5% | Reach level 10 in all five skills. In 1.6 this also unlocks the Mastery Cave; the tracker line is based on the skill-level total, while Mastery stars are the subsequent progression system. |
| Stardrops Found | 10% | Collect every Stardrop. |
| Cooking Recipes Made | 10% | Cook every recipe once. |
| Crafting Recipes Made | 10% | Craft every recipe that counts for the save once. |
| Fish Caught | 10% | Personally catch every required fish; buying one does not fill the collection catch entry. |
| Golden Walnuts Found | 5% | Find all 130 Golden Walnuts. |
These weights total 100%. Decoration is optional and can be done at any time; the four Obelisks and Gold Clock are the farm structures that directly appear in the tracker.
Even after achieving 100% completion, you can continue playing the game. The overall direction of the game is as described, but the process and order can be explored and customized by each player.
Enjoy your time in Stardew Valley, discovering new things and forging your path as you build relationships, expand your farm, and embark on exciting adventures. Remember that the game is open-ended, So, take your time and create your unique Stardew Valley experience. Happy farming!