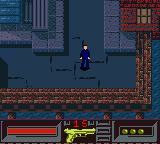
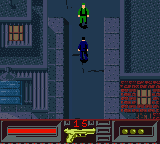
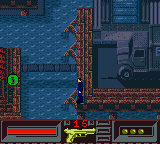
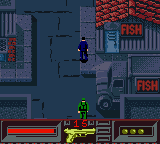
Route / safe action
The main path or a confirmed progression step.
All 8 missions / GBC
Game Boy Color frames, route maps, required-item tables, hazard notes, and objective checkpoints for the complete campaign.
Before deployment
Every visual uses the same labels, so required actions remain easy to scan on desktop or mobile.
The main path or a confirmed progression step.
A key, wall button, computer, code, or mission item.
A guard, laser lane, electric floor, or exposed choke point.
A visual reference that helps you reorient quickly.
Bilbao, Spain
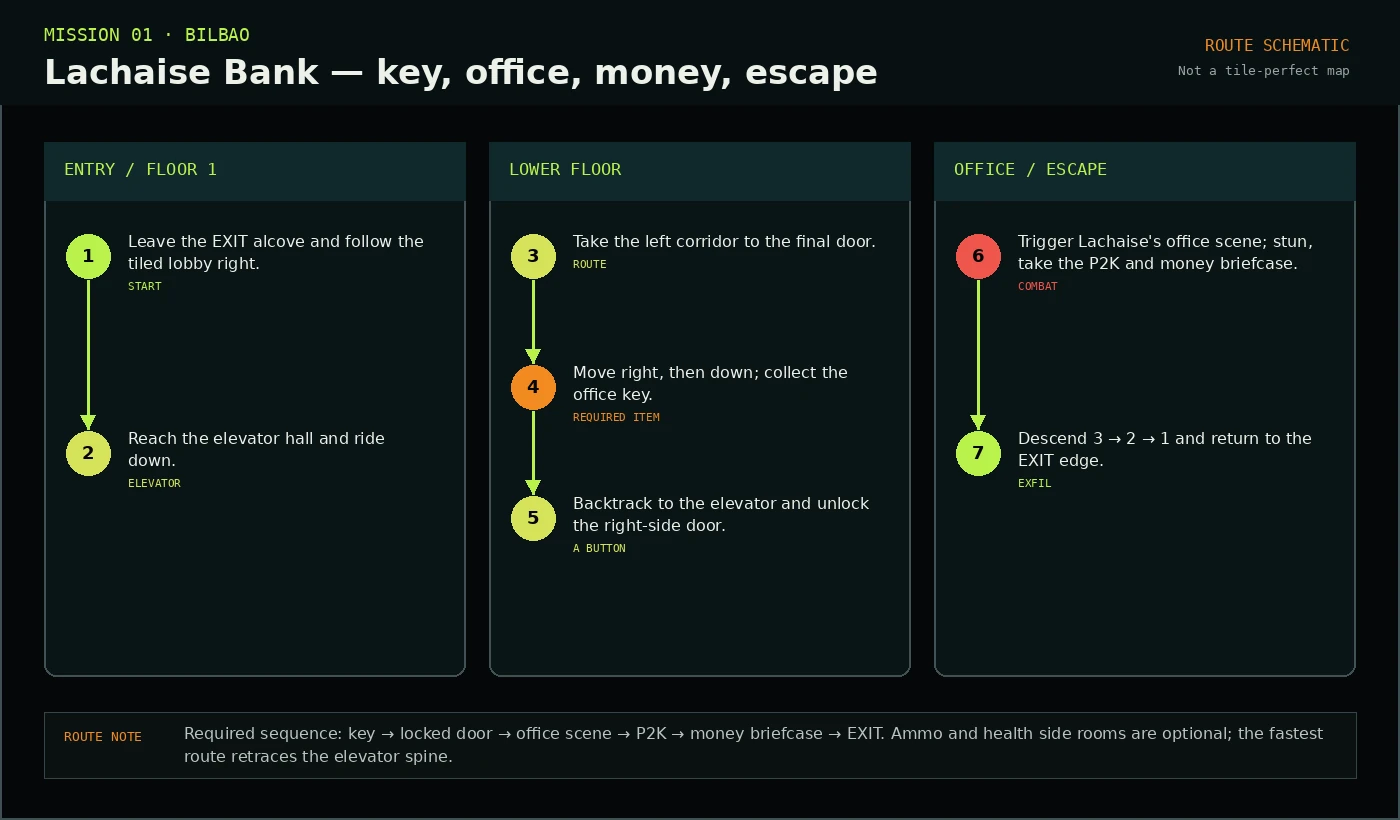
Acquire the office key, reach Lachaise, secure Sir Robert King's money, and retrace the bank's elevator spine to the exit.
Arsenal intelligence
Open the RAM map, HUD frame, GameShark codes, controls, and mission locations for each relevant record.
Mission briefing / route overview
The office route remains locked until you collect the lower-floor key.
After the office scene, take the P2K and the money briefcase before leaving.
Descend from the upper office floors and return to the EXIT edge from the opening screen.
Route schematic
Visual route / 01
Use the clean-frame toggle on each plate when you need to compare against the exact screen on your hardware.
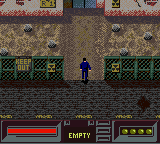
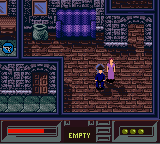
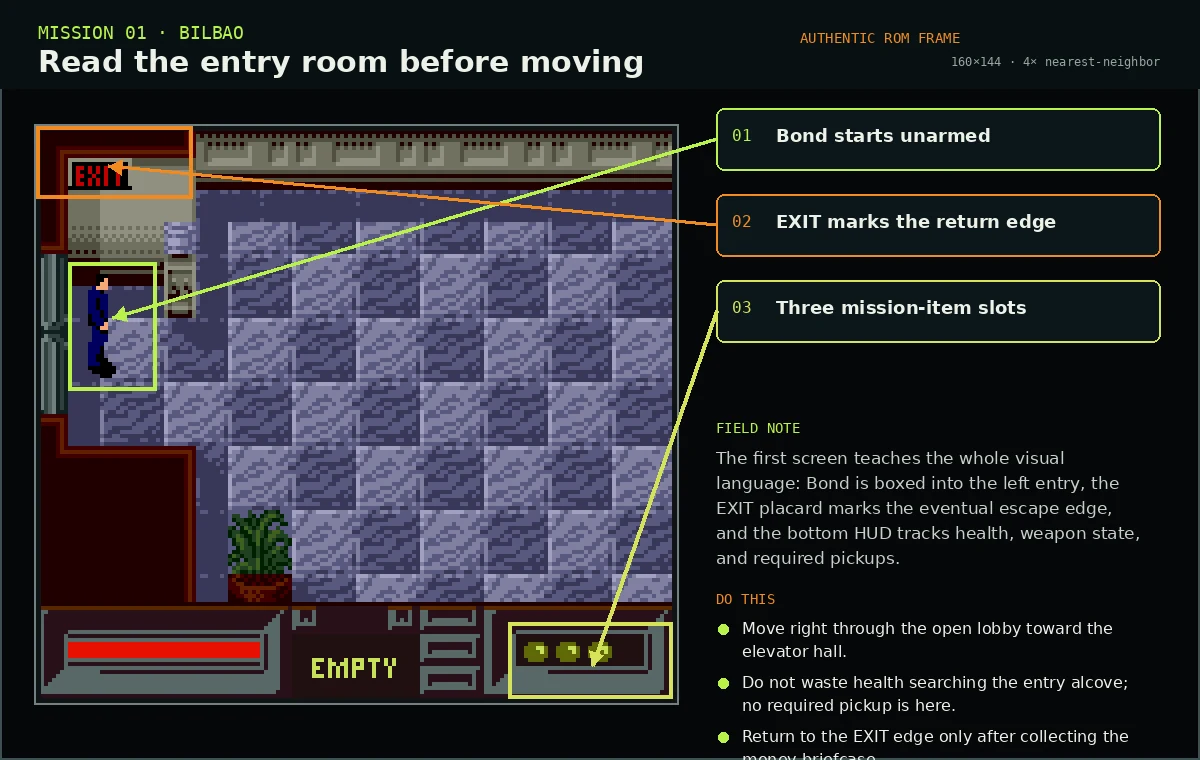 Original game view · frame 160×144
Bond starts unarmed. Walk right into the open tiled lobby; there is no required pickup in the entry pocket.
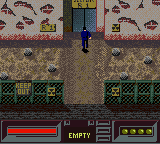
Keep advancing through the open route until the plant-and-wall-fixture junction comes into view.
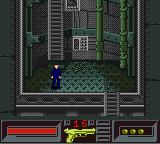
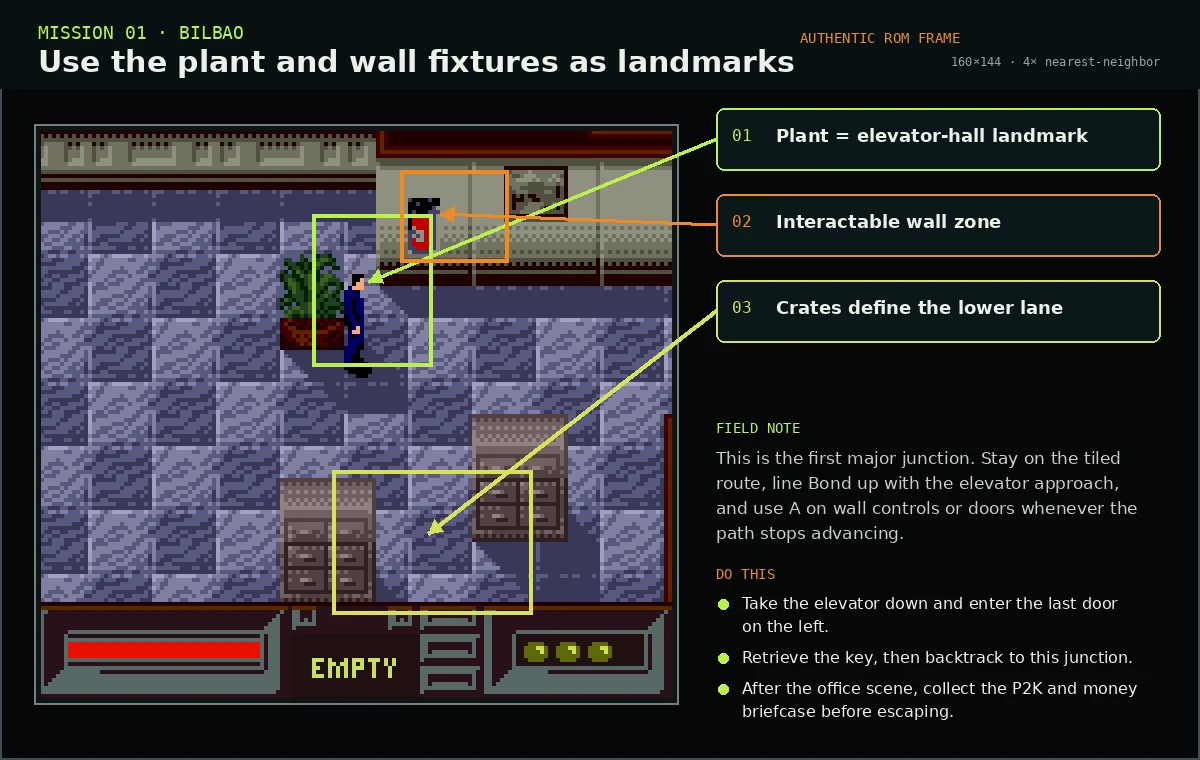
Line up with the elevator approach. When movement stops at a control or door, press A.
On the lower floor, follow the corridor left and use the last accessible doorway.
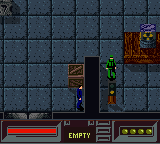
Inside, move right and then down. The key is the progression gate; leaving without it forces a full backtrack.
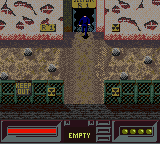
Backtrack to the landmark plant, use the wall control, and open the right-side office route.
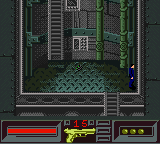
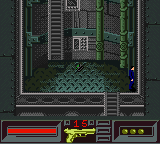
 Original game view · frame 160×144
Office and exfiltration
Use the elevator control and trigger the Lachaise office cutscene.
After Lachaise is killed, deploy the stun grenade, move right, and collect the P2K.
Clear the guards and collect the money briefcase. Confirm the mission-item HUD updates.
Descend floors 3 → 2 → 1. Optional side rooms contain supplies, but the elevator spine is fastest.
Return to the opening room and move through the left EXIT edge.
Item intelligence
| Visual | Item | Required? | When it matters | Operator note |
|---|---|---|---|---|
 | Office key | Required | Lower-floor room | Unlocks the right-side route from the elevator hall. |
 | Stun grenade | Scripted | After the office scene | Creates the opening needed to arm Bond safely. |
 | P2K pistol | Required | Right side of office area | Do not start the escape route while the weapon slot still reads EMPTY. |
 | Money briefcase | Objective | Office combat zone | Confirm it appears in the mission-item HUD before descending. |
 | Health / ammo | Optional | Side rooms during escape | Detour only when the health bar is low or ammunition is nearly empty. |
London, United Kingdom
Secure the building, decode the computer chain, disable layered hazards, open the vault, and deliver the Q-lab keycard to its reader.
Arsenal intelligence
Open the RAM map, HUD frame, GameShark codes, controls, and mission locations for each relevant record.
Mission briefing / route overview
Clear the office rooms and use their wall controls to open the progression path.
The four-computer sequence is 3 → 1 → 4 → 2.
Disable the lower-floor hazard and enter code 4258.
Present the recovered keycard at the Q-lab access point.
Direct mission access
From the main menu choose Continue. Use Up/Down to cycle the selected icon, Left/Right to change slots, then press A after all four pictograms match.
Suitcase
→
 Camera
→
Camera
→
 Watch
→
Watch
→
 Triangles
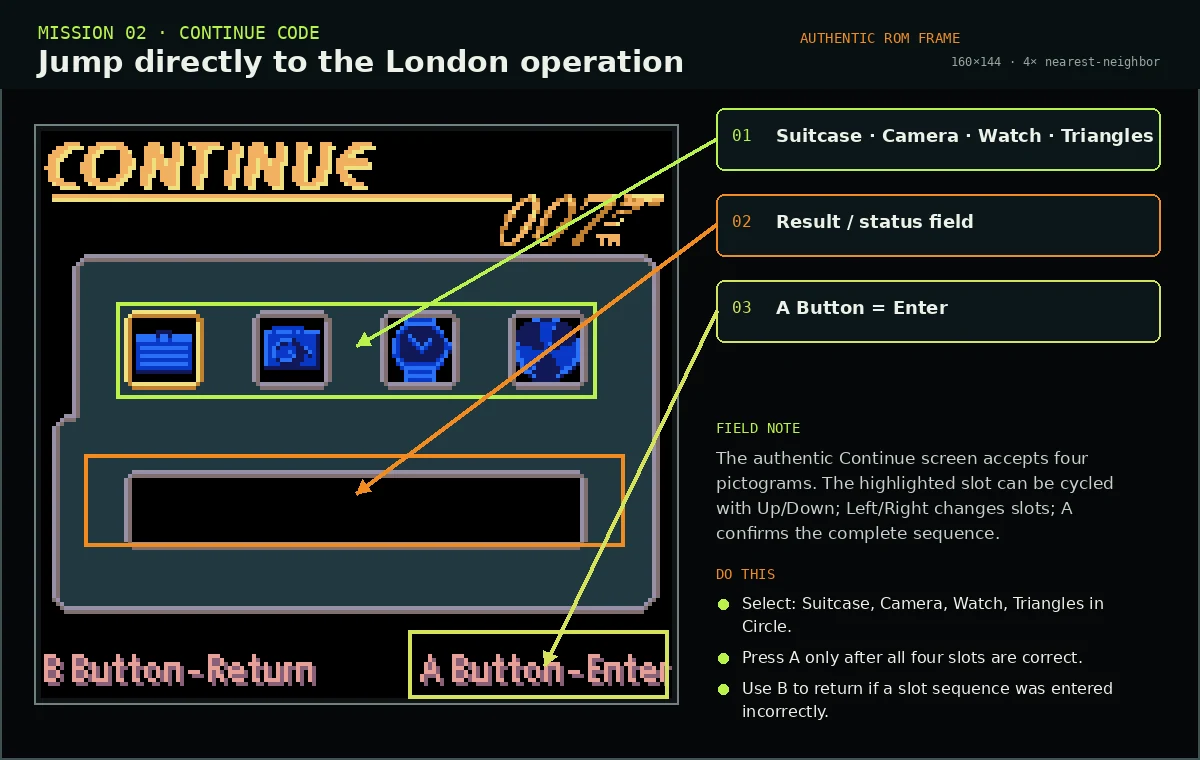 Original game view · Continue screen
Route schematic
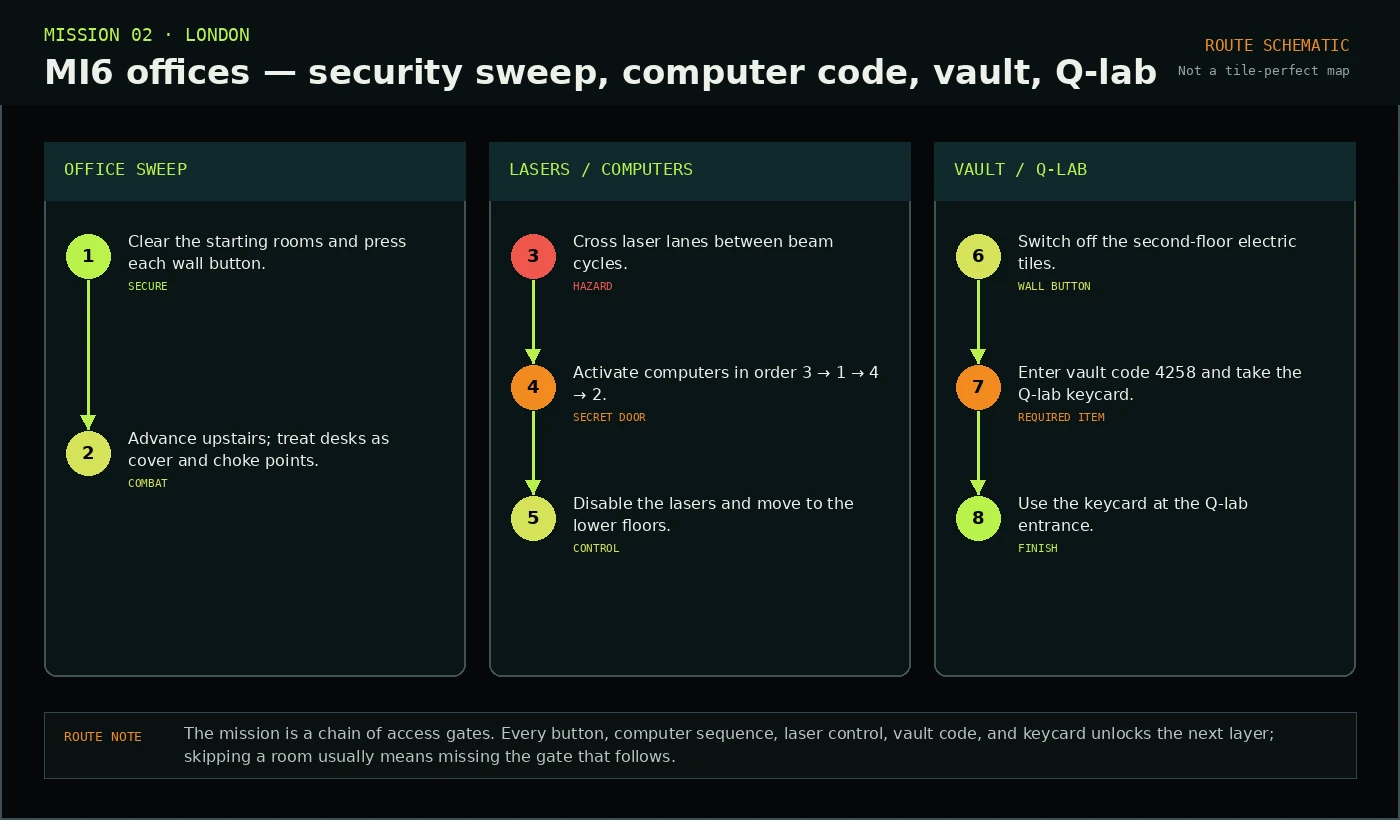
Visual route / 02
Narrow furniture lanes make stationary interactions dangerous while a guard is still active.
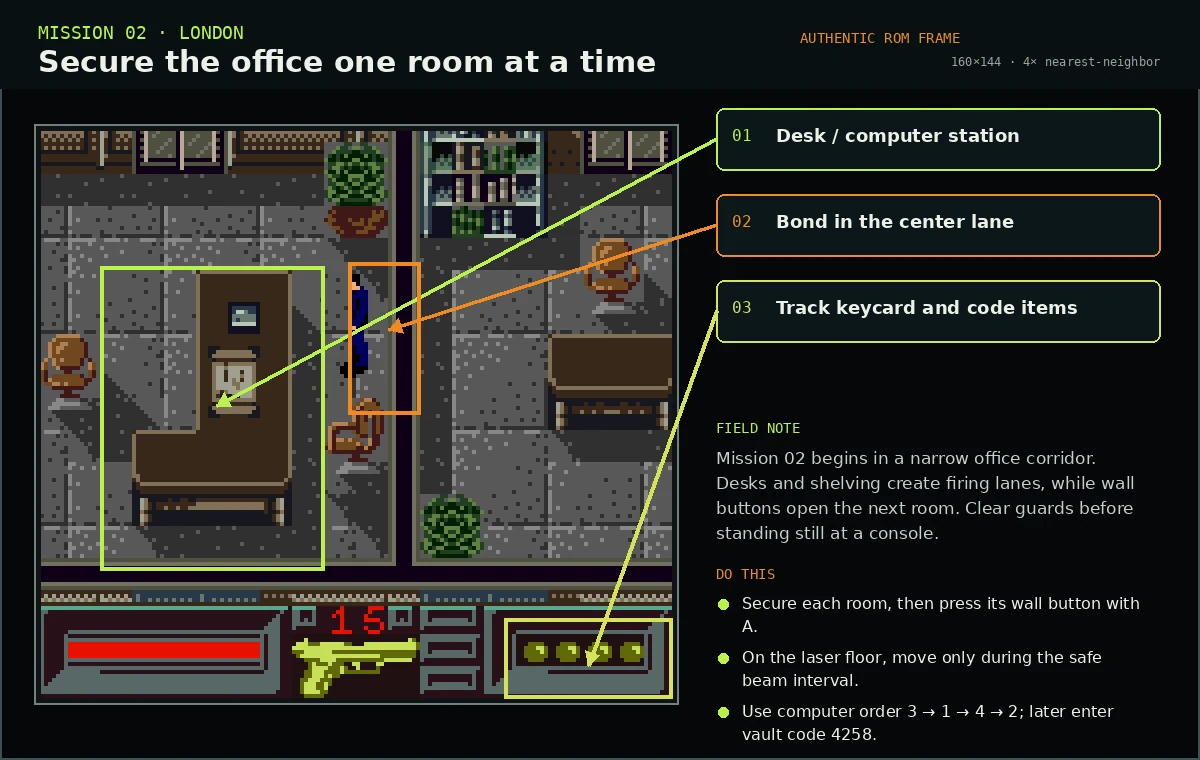 Original game view · frame 160×144
Eliminate the nearby guard before lining Bond up with a wall button or computer.
When the route appears closed, sweep the wall edge and press A at the button fixture.
Do not push through an active beam. Wait for the off interval, cross one lane, then reset your timing.
The correct order opens the secret route and leads to the laser shutoff.
Critical puzzle values
The computer order opens the hidden progression route. The vault code unlocks the Q-lab keycard later; they are separate inputs.
Hazards, vault, Q-lab
Use the revealed route to disable the laser system, then descend.
On the second floor, avoid the active electric tiles and find the wall button that switches them off.
Continue the first-floor security sweep; press the remaining room controls.
At the vault, enter 4258 and collect the Q-lab access keycard.
Return to the Q-lab entrance and use the keycard to complete the mission.
Item intelligence
| Visual | Item / value | Required? | Where | Operator note |
|---|---|---|---|---|
| P2K / ammunition | Combat | Office sweep | Clear guards before using stationary controls. |
 | 3 → 1 → 4 → 2 | Puzzle | Third-floor computers | Opens the secret route to the laser controls. |
| Laser timing | Hazard | Third floor | Cross one lane per off-cycle; do not chain blind movement. |
| Vault code 4258 | Required | Vault keypad | This is separate from the four-computer sequence. |
 | Q-lab keycard | Objective | Inside the vault | The mission ends only after the card is used at Q-lab. |
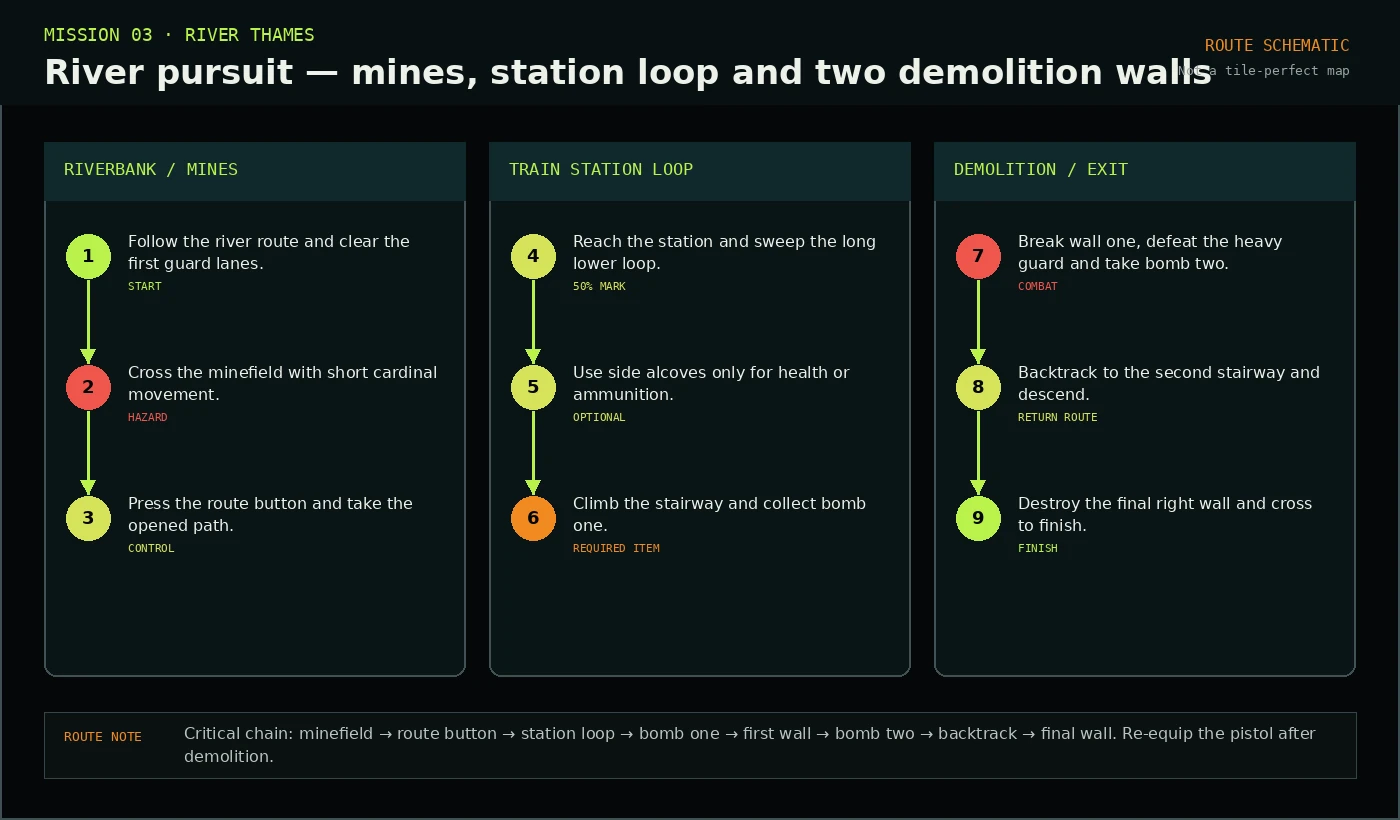
Mission file 03 · Route guide
Navigate the riverside mine route, complete the train-station loop, secure two bombs, and breach both demolition walls.
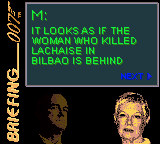
Arsenal intelligence
Open the RAM map, HUD frame, GameShark codes, controls, and mission locations for each relevant record.
Continue password

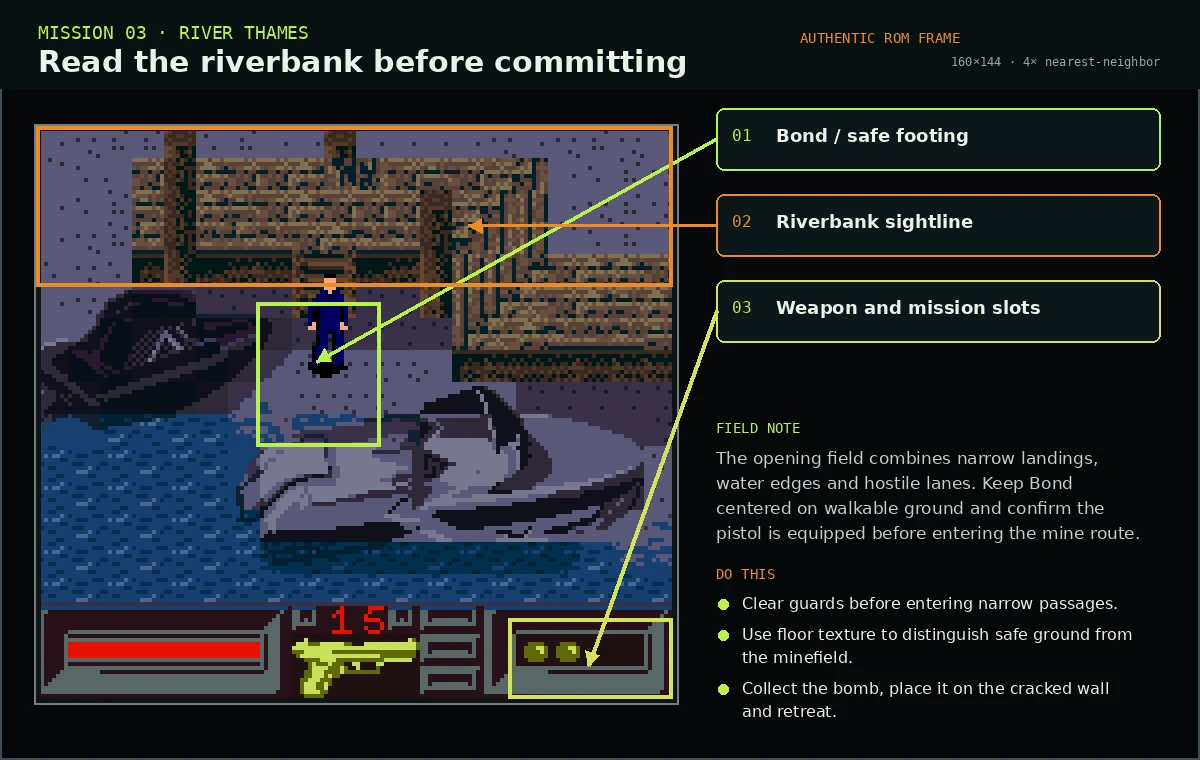
Field plate 01
Clear the opening lanes and identify safe footing before the mine section. The annotated view separates game pixels from route advice.
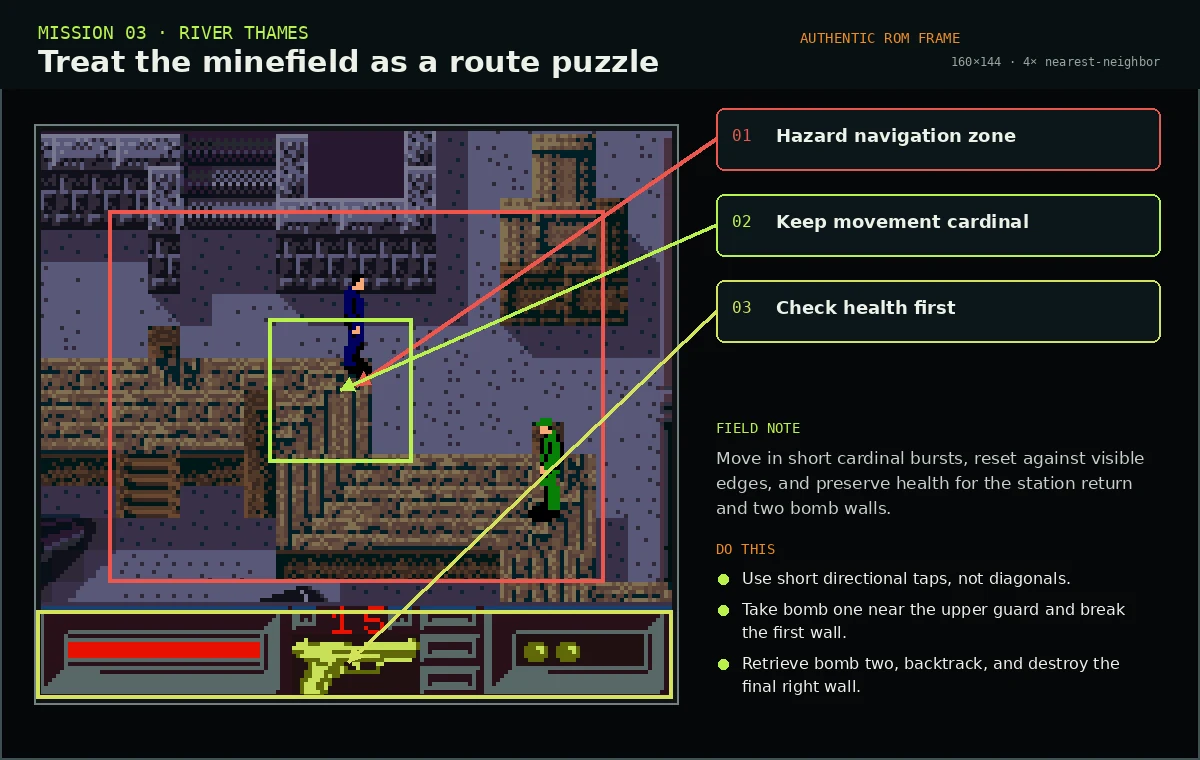
Field plate 02
Use short cardinal inputs. Long diagonal movement is unreliable here and wastes the health needed for the station and demolition route.
Item intelligence
| Item / gate | Purpose | Execution note |
|---|---|---|
| Minefield route | Accesses the station path | Move in short cardinal taps and reset against visible edges. |
| Route button | Opens the next corridor | Press it before backtracking to the newly opened path. |
| Bomb 01 | Breaks the first wall | Equip with START, plant, retreat, then re-equip the pistol. |
| Bomb 02 | Breaks the final right wall | Carry it back to the second stairway before planting. |
Mission file 04 · Route guide
Clear the approach, shadow Davidov without detection, and use successive bombs to breach the concealed route.
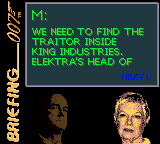
Arsenal intelligence
Open the RAM map, HUD frame, GameShark codes, controls, and mission locations for each relevant record.
Continue password

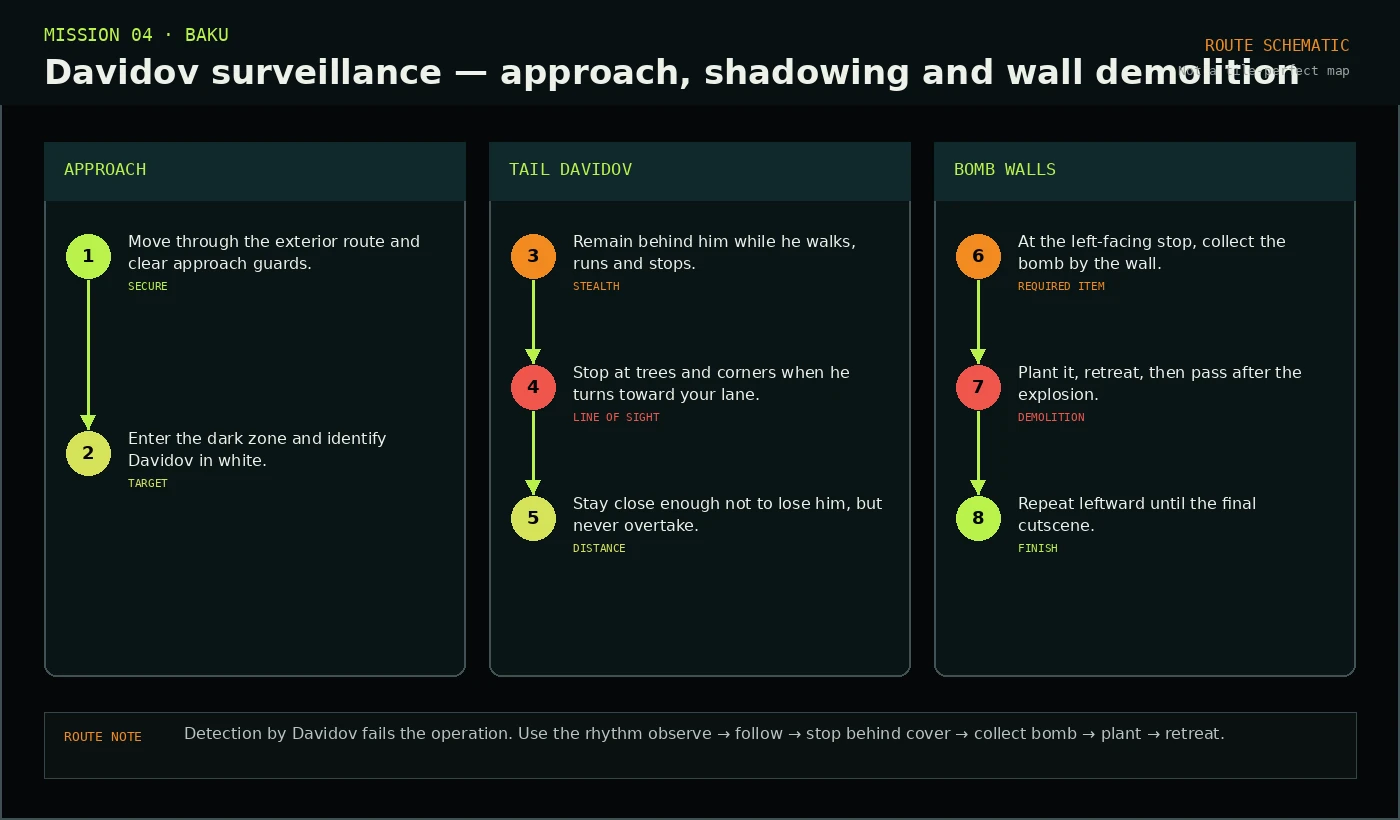
Item intelligence
| Threat / item | Purpose | Execution note |
|---|---|---|
| Davidov sightline | Primary failure condition | Remain behind him; stop immediately when he turns. |
| Trees and corners | Visual cover | Use them as fixed waiting points instead of chasing continuously. |
| Bomb pickups | Open each blocked wall | Pick up, equip, plant and retreat before every blast. |
| Pistol | Approach security | Use before the tail; re-equip only when combat resumes. |
Mission file 05 · Route guide
Stay unseen while opening the facility route, locate Christmas Jones, survive the timed side-scrolling silo run, then carry bombs back through the same hazard course to escape.
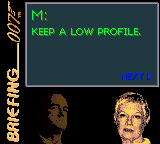
Arsenal intelligence
Open the RAM map, HUD frame, GameShark codes, controls, and mission locations for each relevant record.
Continue password
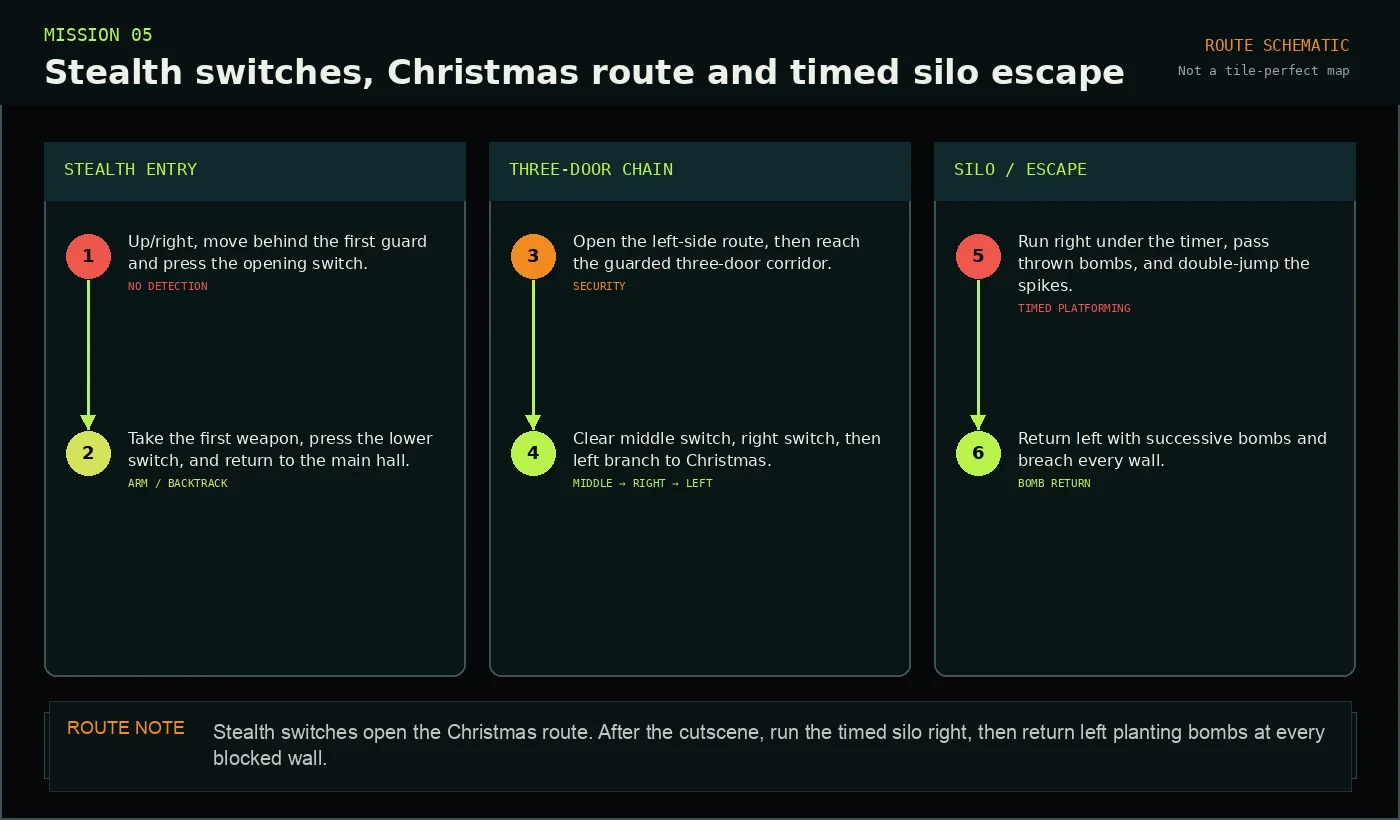
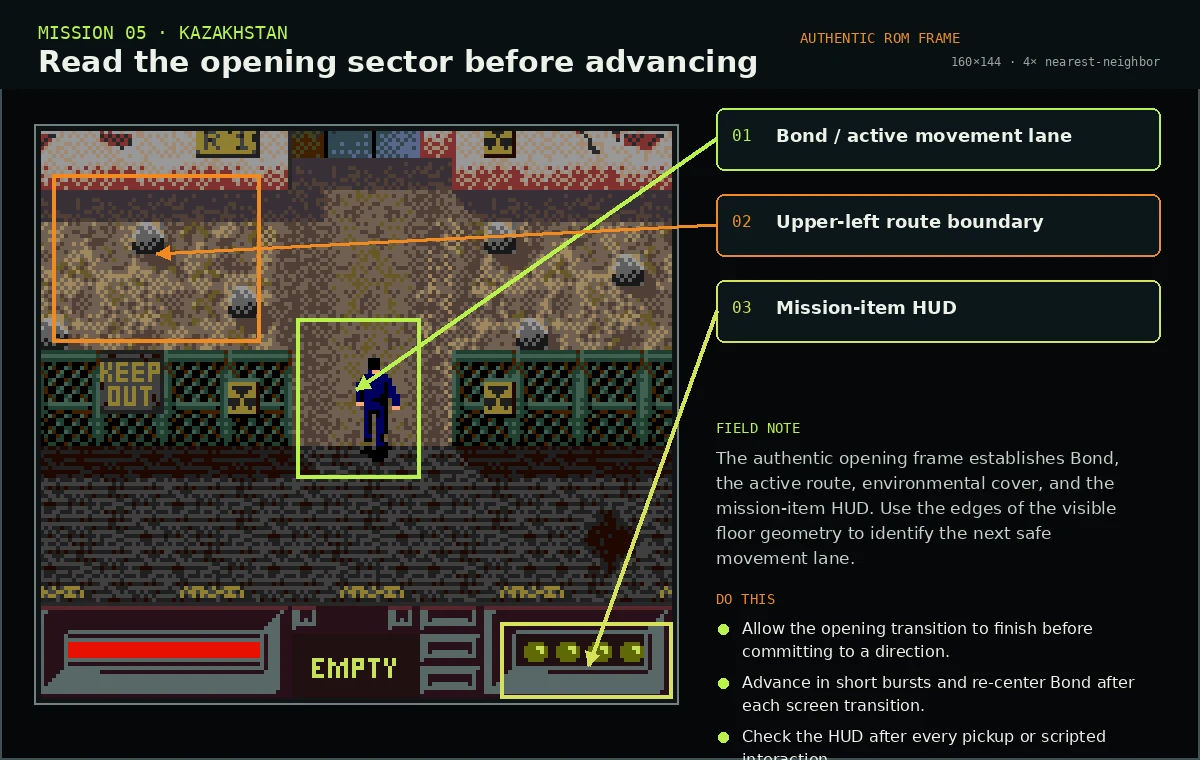
Field plate 01
Wait for the scripted opening transition, then identify the active screen exit and HUD state.
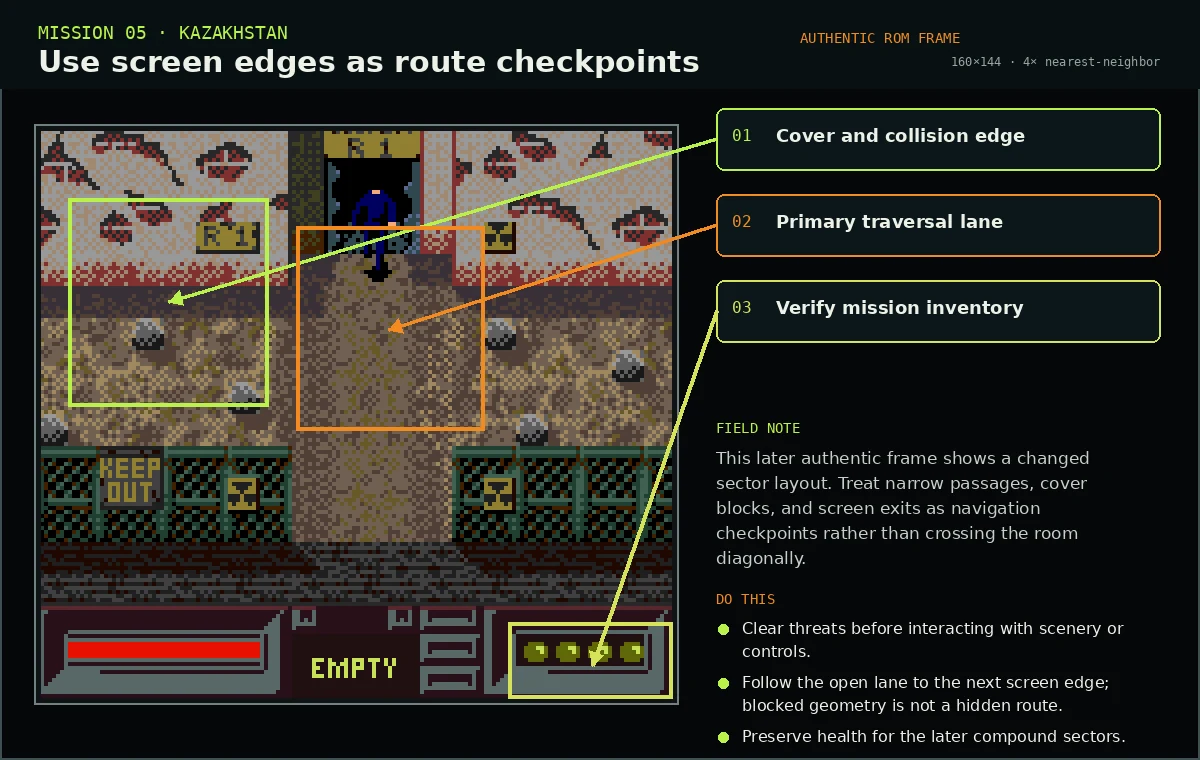
Field plate 02
Use walls, cover blocks, and screen exits as stable landmarks while enemy timing changes.
Field intelligence
| Element | Purpose | Execution note |
|---|---|---|
| Opening transition | Establishes the playable sector | Do not hold a direction until the transition has completed. |
| Screen exits | Connect facility sectors | Advance one edge at a time and re-center after scrolling. |
| Cover geometry | Controls exposure | Clear threats before crossing open central lanes. |
| Mission HUD | Tracks pickups and weapon state | Verify it after every interaction or scripted event. |
Mission file 06 · Route guide
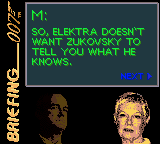
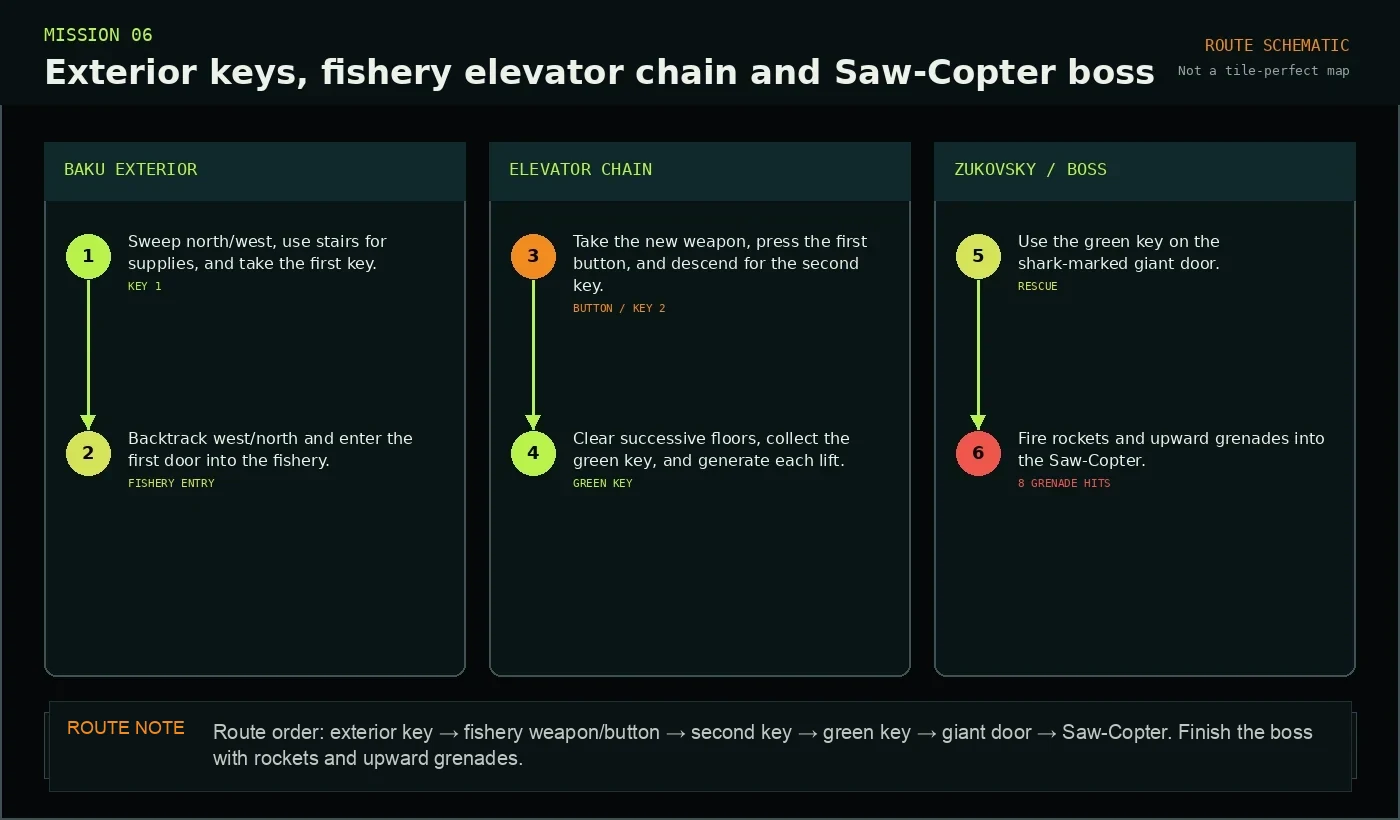
Fight through the Baku exterior, collect the keys that operate the fishery elevator chain, reach Zukovsky, then destroy the Saw-Copter with rockets and upward-fired grenades.
Arsenal intelligence
Open the RAM map, HUD frame, GameShark codes, controls, and mission locations for each relevant record.
Continue password

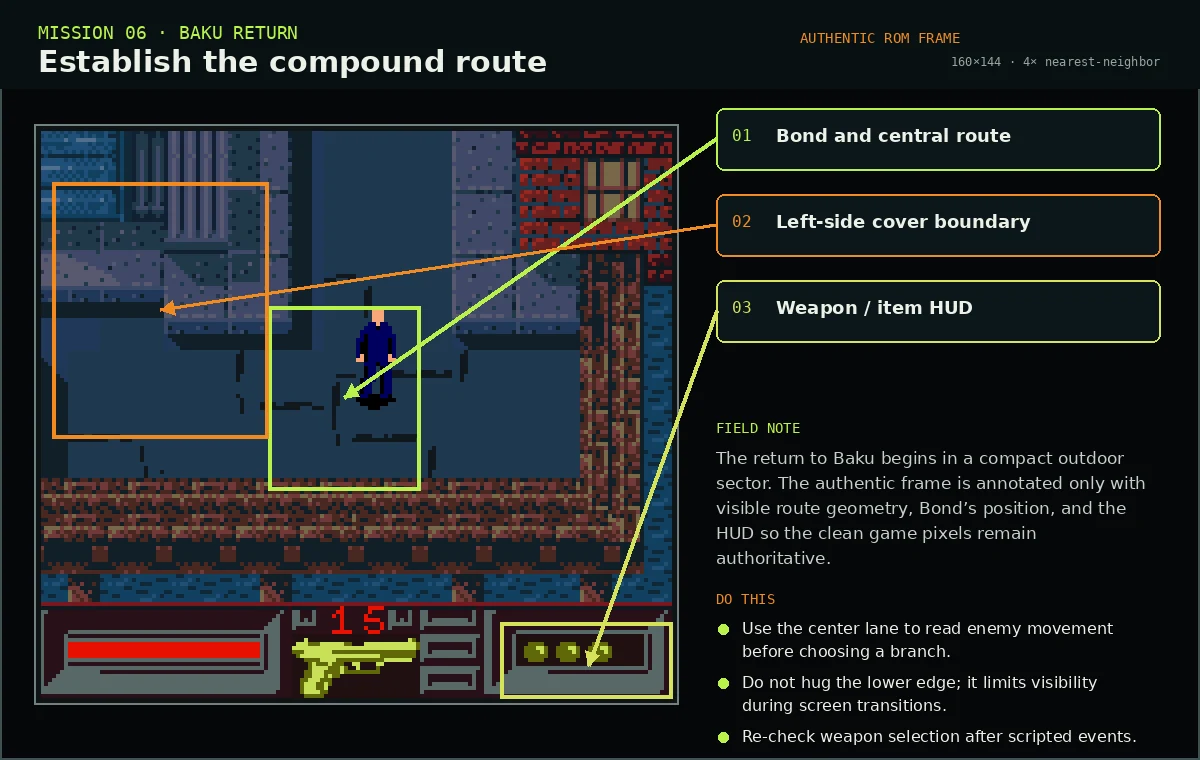
Field plate 01
Read the compact opening compound before choosing a branch or crossing the exposed center.
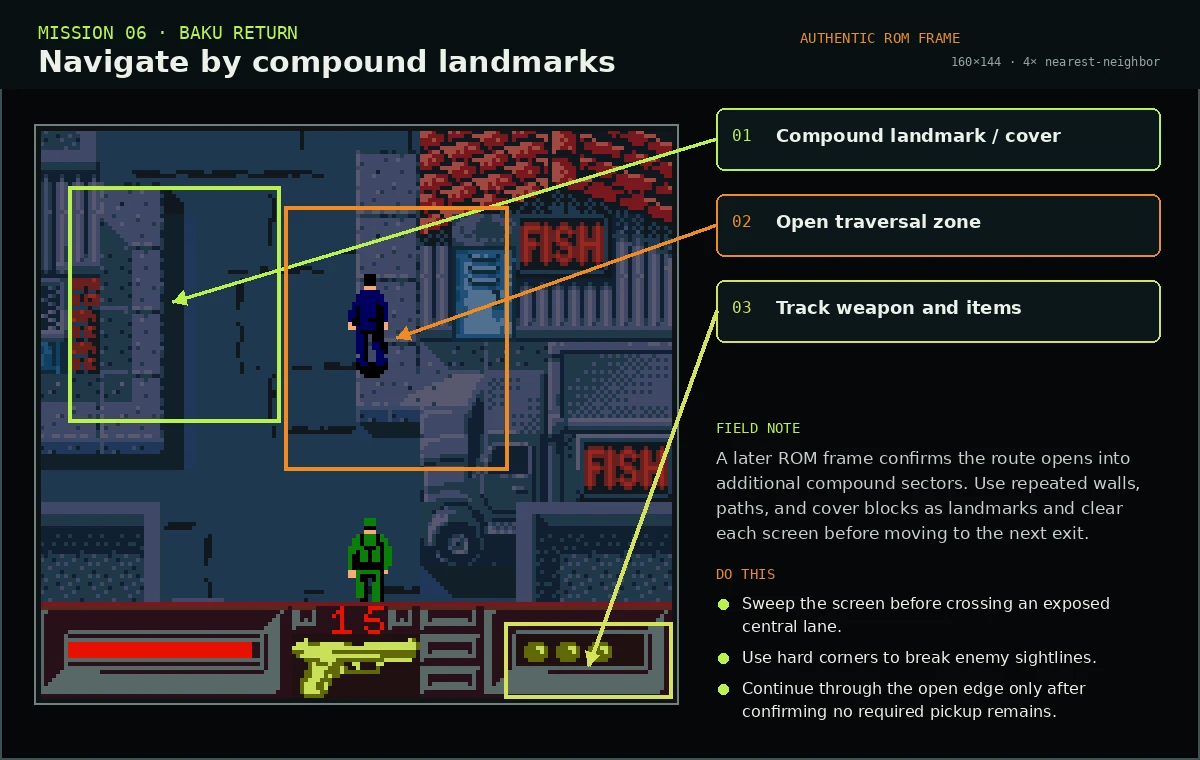
Field plate 02
Repeated walls, paths, and cover blocks form the stable route language for later sectors.
Field intelligence
| Element | Purpose | Execution note |
|---|---|---|
| Central lane | Fastest but most exposed route | Sweep enemies before crossing. |
| Hard corners | Break enemy sightlines | Pause at corners and fire from controlled angles. |
| Side sectors | May contain required pickups or controls | Check before committing to the upper route. |
| Weapon / item HUD | Confirms mission readiness | Re-check after scripted transitions. |
Mission file 07 · Route guide
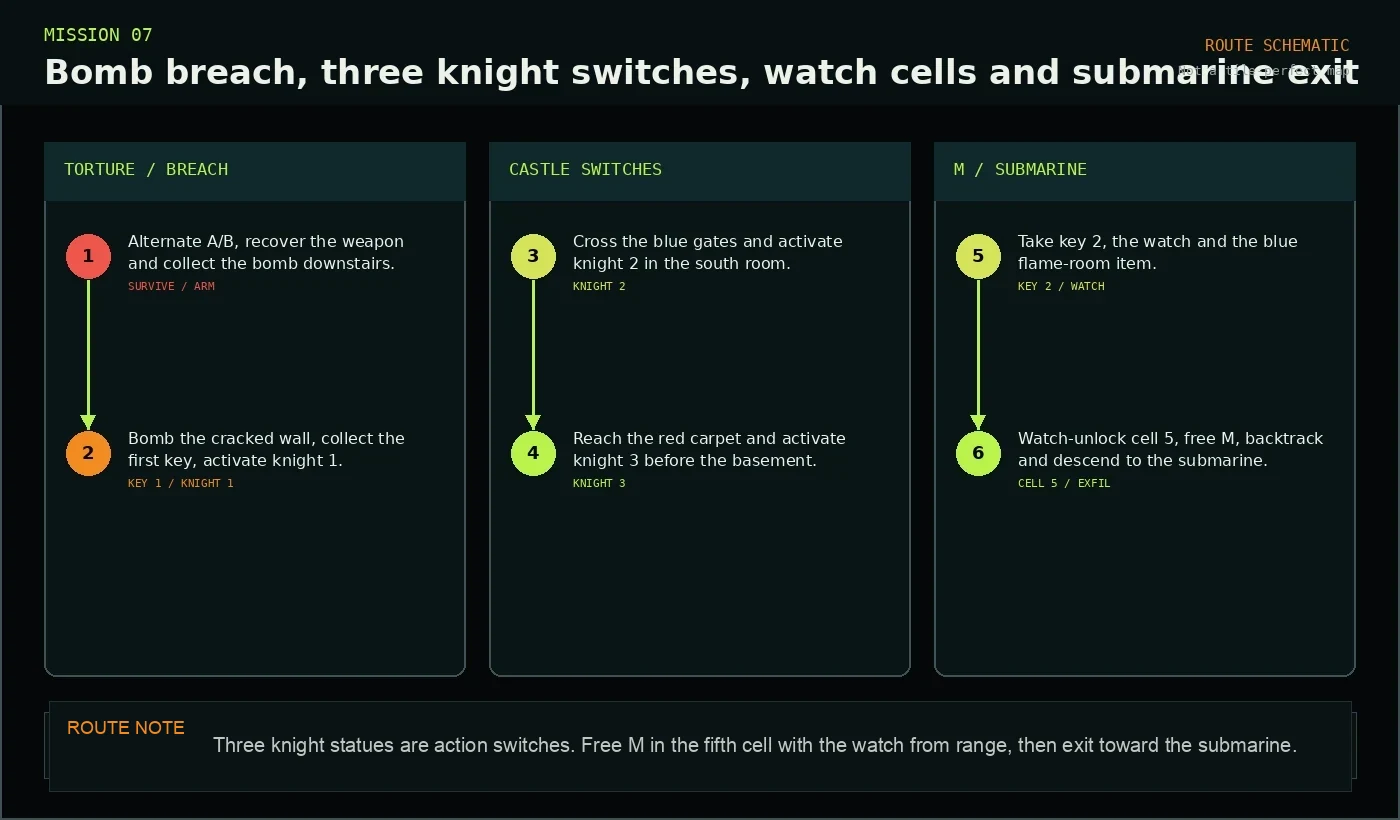
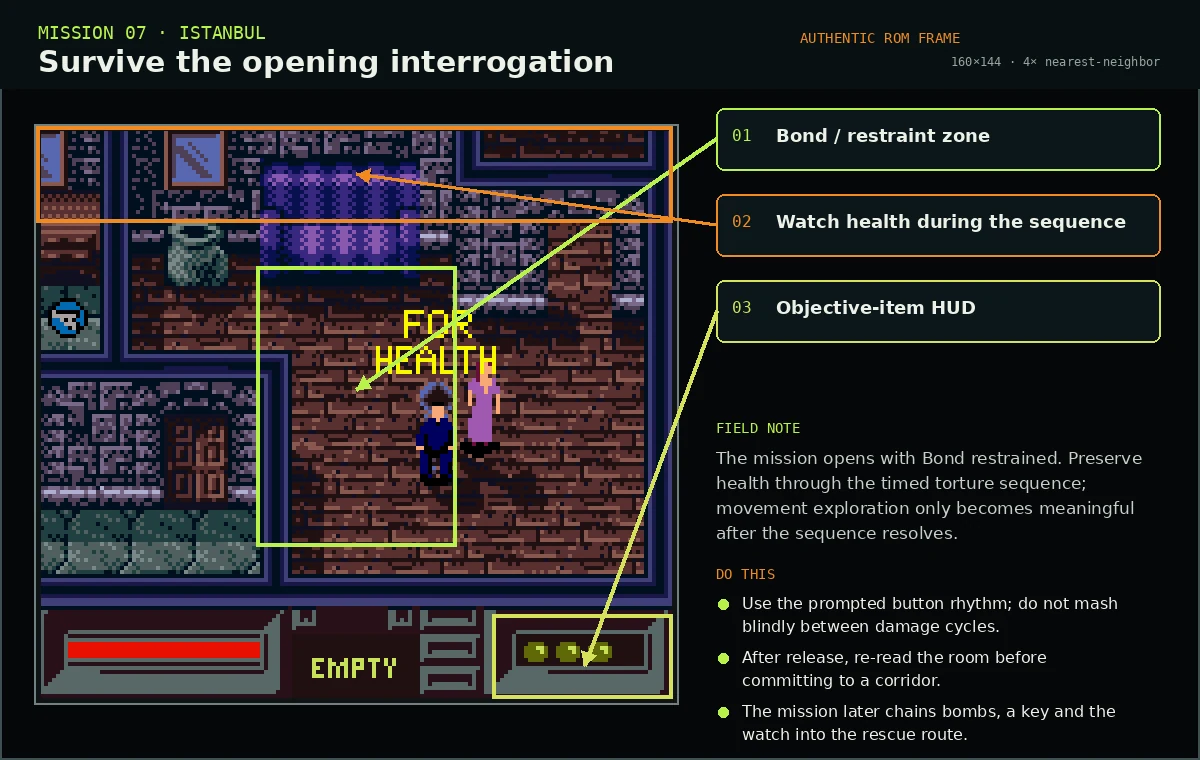
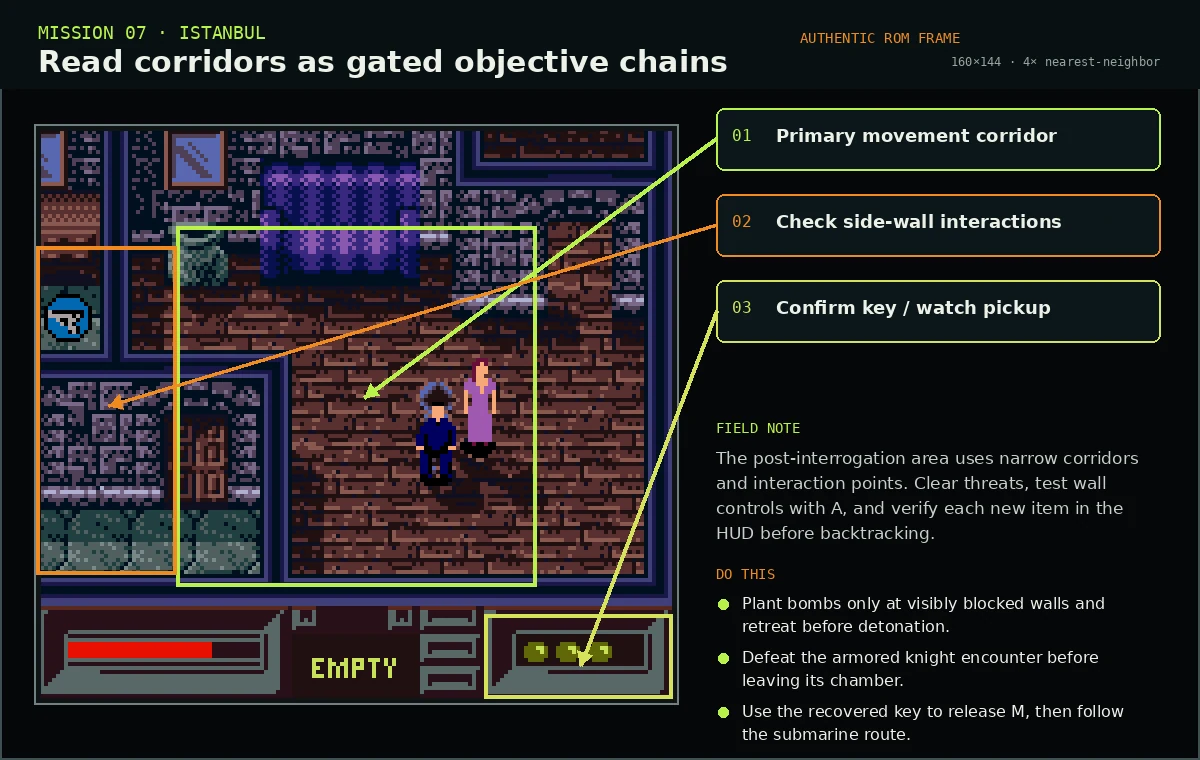
Survive the torture sequence, recover a bomb, activate three knight switches, collect two keys and the watch, unlock M in the fifth cell, then descend to the submarine exit.

Arsenal intelligence
Open the RAM map, HUD frame, GameShark codes, controls, and mission locations for each relevant record.
Continue password
Torture sequence tip
The opening sequence ends on its own. Alternating A/B changes the result only slightly, so staying ready for the corridor exit matters more.
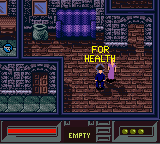
Field plate 01
Preserve health through the timed torture sequence before normal exploration begins.
Field plate 02
Use bombs, controls, the key and the watch in sequence before returning to the rescue route.
Field intelligence
| Element | Purpose | Execution note |
|---|---|---|
| Opening sequence | Begins the castle route | Wait for normal movement to return, then leave through the corridor. |
| Bomb wall | Opens the castle route | Plant the explosive and retreat before detonation. |
| Armored knight / control | Unlocks the next branch | Clear the encounter and activate the room control. |
| Key and watch | Required rescue items | Verify both in the HUD before backtracking to M. |
Mission file 08 · Route guide
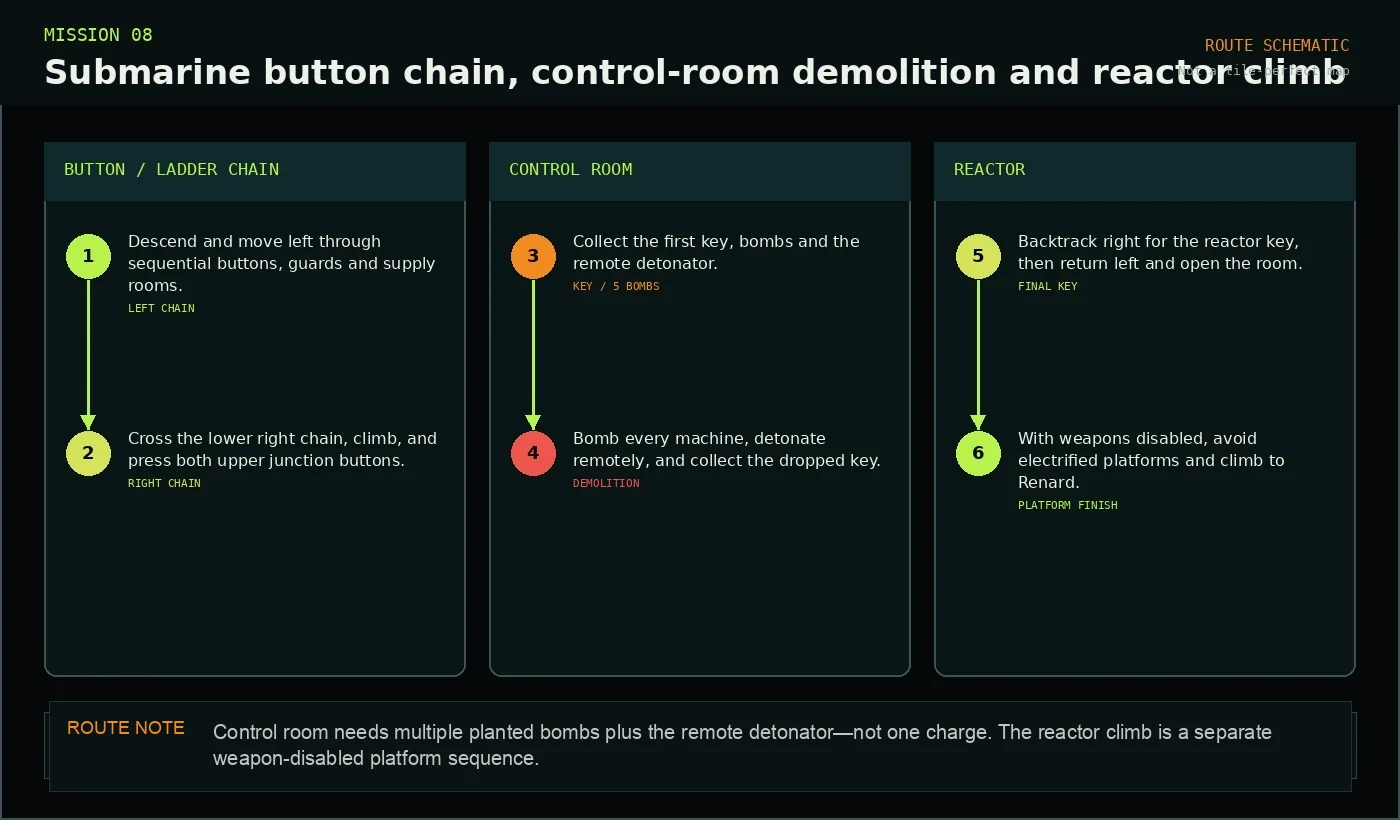
Follow the submarine's long button-and-ladder chain, gather bombs and the remote detonator, destroy every control-room machine, collect the reactor keys, then finish the weapon-disabled platform climb.
Arsenal intelligence
Open the RAM map, HUD frame, GameShark codes, controls, and mission locations for each relevant record.
Continue password
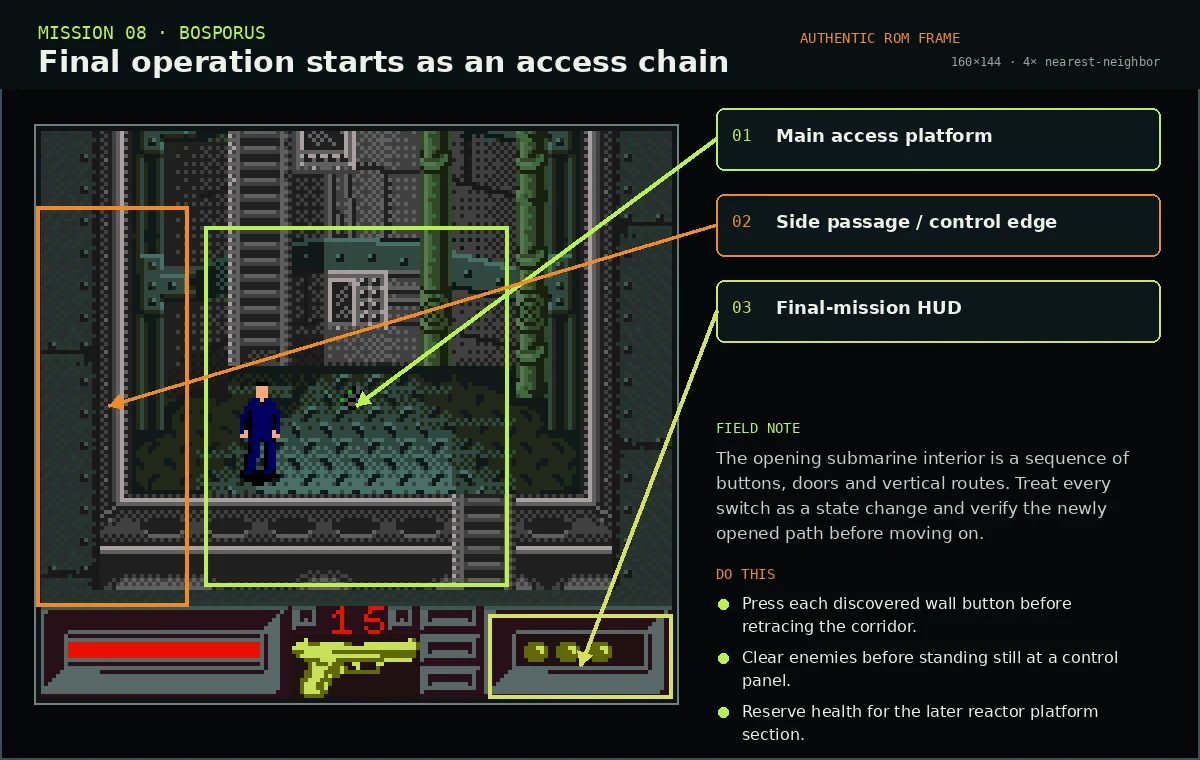
Field plate 01
Treat each button as a route-state change and check the newly opened corridor before advancing.
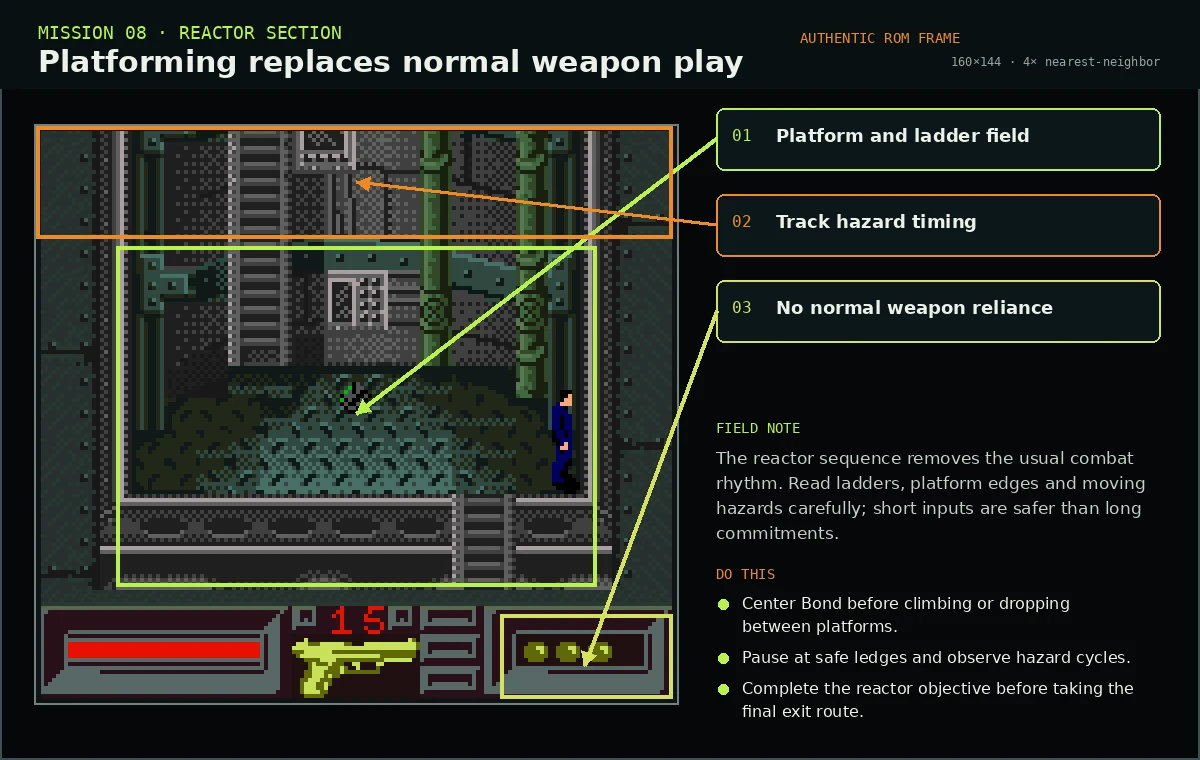
Field plate 02
Use short ladder and platform inputs; this section no longer follows normal weapon-combat rhythm.
Field intelligence
| Element | Purpose | Execution note |
|---|---|---|
| Wall buttons | Open successive compartments | Press each control before retracing the corridor. |
| Bridge explosive | Breaches the control route | Secure the room, plant the charge and retreat. |
| Ladders and platforms | Define the reactor route | Center Bond before climbing, dropping or crossing. |
| Hazard timing | Primary final-section risk | Pause on safe ledges and observe each cycle before moving. |