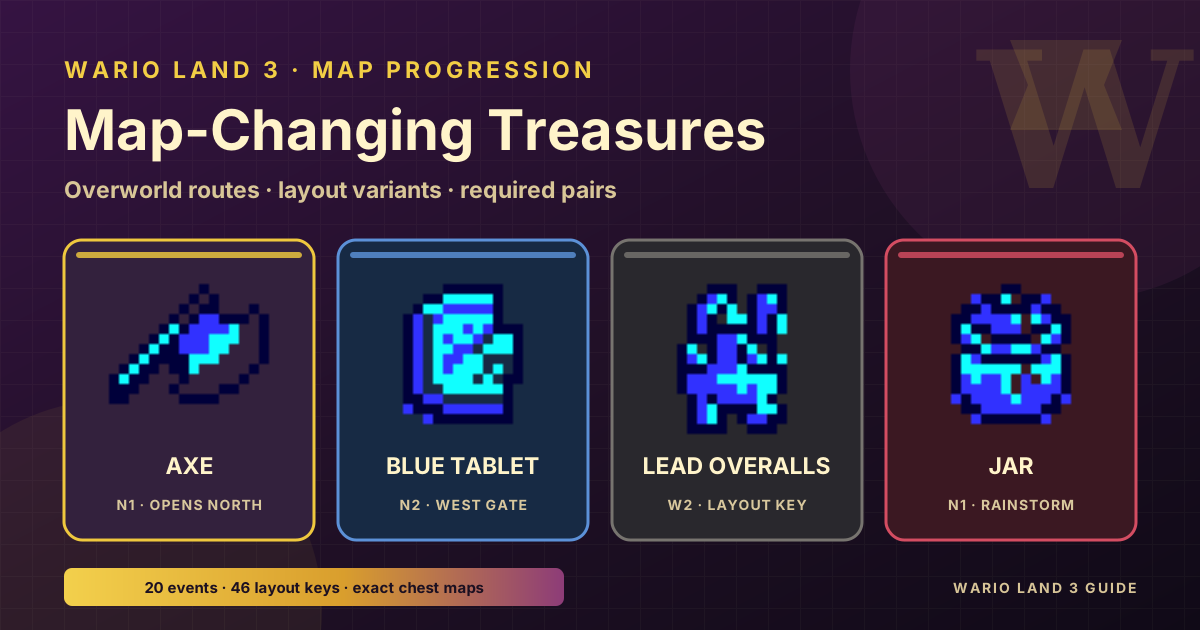
Wario Land 3 progression is map-driven. Collecting the right treasures rewrites the overworld, connects new levels, and unlocks later layouts inside stages you already visited. Use the finder below for every major overworld route event and every treasure that opens a new map variant.
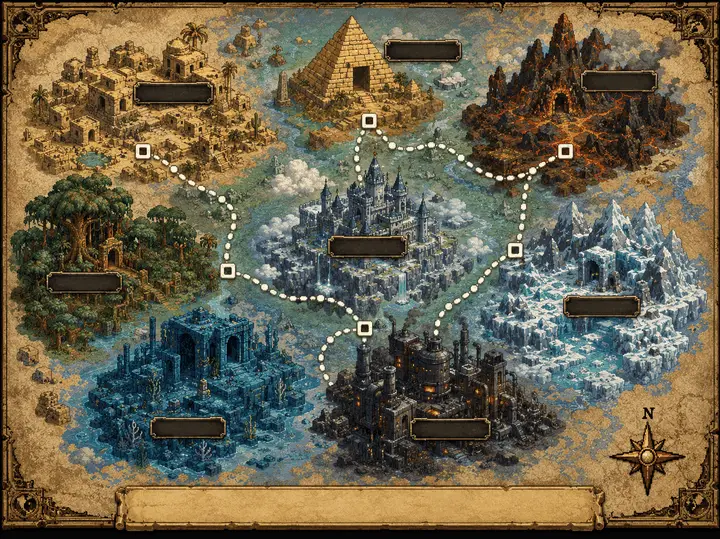
MAP PROGRESSION RULE
Two kinds of map changers: overworld routes and level layouts
Overworld treasures trigger cutscenes that open new paths and levels. Layout treasures unlock higher map variants inside levels so new rooms and chests appear. Start with the Axe in N1, then keep collecting the treasures that light up the next region.
INTERACTIVE MAP-CHANGE CHECKLIST
Map-Changing Treasures Finder
Loading map-changing treasures…
Mark events and layout treasures as you collect them. Overworld cards show the route result; layout cards list the exact level variants they unlock. Progress stays in this browser only. Chest links open the Room & Target Index on the default Day map.
HOW PROGRESSION WORKS
How the Wario Land 3 map changes
The world is non-linear on purpose. Opening a chest can do more than fill your collection screen—it can redraw the overworld or rewrite a level’s internal map state.
Collect the treasure
Carry a same-color key to its chest. Some map events need a pair or trio of treasures before the cutscene fires.
Watch the overworld
A path, rain channel, tower, frozen sea, or cleared obstacle can appear. New level icons become reachable from already-open stages.
Revisit old levels
Layout treasures raise a level’s variant. The same stage can gain new routes, keys, and chests on later visits.
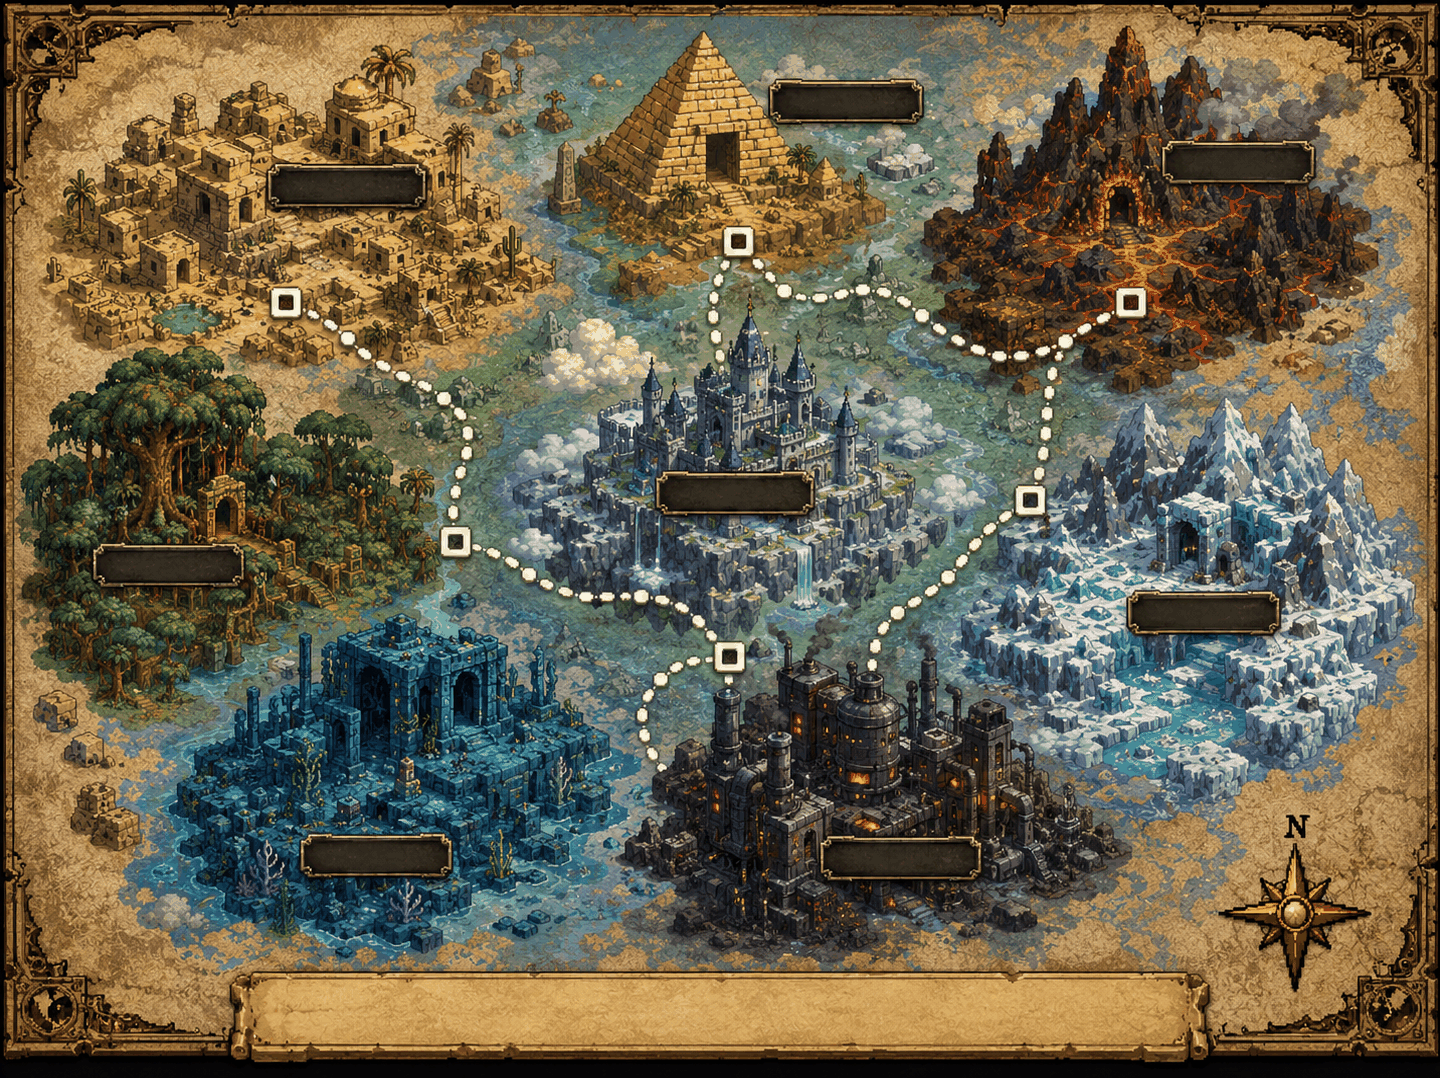
Overworld first, layouts second
If a whole region is missing, you need an overworld route treasure. If a level is open but a chest route is blocked, you likely need a layout-changing treasure or an ability found elsewhere.
OVERWORLD ROUTE EVENTS · 20 TOTAL
Treasures that change the overworld map
These are the major route events that open new levels. Order is the natural story path, not a hard sequence lock—several routes can be available at once once prerequisites are met.
| # | Event | Required treasure(s) | Where to find them | Map result |
|---|---|---|---|---|
| 1 | Cut the tree | Axe | N1 · Gray | Opens N2 Peaceful Village and N3 Vast Plain |
| 2 | Open the North gate | Blue Tablet + Green Tablet | N2 Gray · N3 Gray | Opens W1 Desert Ruins from the North map |
| 3 | Clear the tornado | Top Half + Bottom Half of Scroll | W1 Gray · W1 Red | Opens W2 The Volcano's Base |
| 4 | Start the rainstorm | Jar | N1 · Red | Connects W2 → W3 Pool of Rain → W4 Town in Chaos |
| 5 | Repair the elevator | Gear 1 + Gear 2 | W3 Gray · W4 Gray | Connects W4 to S1 Grasslands |
| 6 | Play Yellow Music Box | Yellow Music Box | S1 · Gray | Opens S2 The Big Bridge |
| 7 | Raise Tower of Revival | Red Skull Ring + Blue Skull Ring | N3 Green · W3 Red | Opens S3 Tower of Revival |
| 8 | Blow away eastern mist | Ornamental Fan | W3 · Green | Opens E1 The Stagnant Swamp |
| 9 | Freeze the sea | Blue Book + Magic Wand | N2 Red · S1 Green | Opens E2 The Frigid Sea |
| 10 | Play Blue Music Box | Blue Music Box | W4 · Red | Opens N4 Bank of the Wild River and N5 Tidal Coast |
| 11 | Lightning over canyon | Trident + Yellow Book | N4 Gray · N5 Gray | Opens S4 The Steep Canyon |
| 12 | Volcano eruption | Blue Tusk + Red Tusk + Green Flower | W2 Blue · S4 Red · E1 Red | Opens W6 West Crater and E4 Colossal Hole path |
| 13 | Clear northern path | Garlic | S3 · Red | Opens N6 Sea Turtle Rocks (also powers dash) |
| 14 | Play Green Music Box | Green Music Box | N6 · Gray | Opens S5 Cave of Flames |
| 15 | Reveal Castle of Illusions | Lantern + Magical Flame | S2 Blue · E2 Green | Opens E3 Castle of Illusions |
| 16 | Play Red Music Box | Red Music Box | E1 · Green | Opens W5 Beneath the Waves |
| 17 | Read Treasure Map | Treasure Map | S3 · Green | Opens E6 The East Crater |
| 18 | Burn forest vines | Torch | E3 · Red | Opens E7 Forest of Fear and reconnects to N2 |
| 19 | Reveal Warped Void | Warp Compact | E7 · Gray | Opens E5 The Warped Void |
| 20 | Open the sky door | Sky Key | S3 · Blue | Opens S6 Above the Clouds |
LEVEL LAYOUT VARIANTS · 46 TREASURES
Treasures that change level layouts
Each level has multiple map variants. Variant 1 is available when you first reach the stage. Later variants unlock after you collect specific treasures—often abilities or paired quest items. Those treasures may sit in a different region from the level they change.
| From | Chest | Treasure | Move unlock | Unlocks layout | Map |
|---|---|---|---|---|---|
| N1 | Green |  Prince Frog's Gloves Prince Frog's Gloves |
Swim Against Currents | Bank of the Wild River V3; Beneath the Waves V2; The Steep Canyon V3 | Open chest map |
| N2 | Gray |  Blue Tablet Blue Tablet |
— | Desert Ruins V2 (also needs Green Tablet) | Open chest map |
| N3 | Gray |  Green Tablet Green Tablet |
— | Desert Ruins V2 (also needs Blue Tablet) | Open chest map |
| N4 | Green |  Statue Statue |
— | The Tidal Coast V3; Tower of Revival V3 | Open chest map |
| N5 | Red |  Foot Of Stone Foot Of Stone |
— | The Stagnant Swamp V2; The Steep Canyon V2; The Volcano's Base V4 | Open chest map |
| N5 | Green |  Electric Fan Propeller Electric Fan Propeller |
— | A Town in Chaos V4 | Open chest map |
| N6 | Red |  Golden Right Eye Golden Right Eye |
— | Tower of Revival V4 (also needs Golden Left Eye) | Open chest map |
| N6 | Green |  Sun Medallion (Top) Sun Medallion (Top) |
— | Castle of Illusions V2 (also needs Sun Medallion (Bottom)); The Colossal Hole V3 (also needs Sun Medallion (Bottom)); The Frigid Sea V4 (also needs Sun Medallion (Bottom)) | Open chest map |
| N6 | Blue |  Full Moon Gong Full Moon Gong |
— | Above the Clouds V4 | Open chest map |
| W1 | Blue |  Sun Medallion (Bottom) Sun Medallion (Bottom) |
— | Castle of Illusions V2 (also needs Sun Medallion (Top)); The Colossal Hole V3 (also needs Sun Medallion (Top)); The Frigid Sea V4 (also needs Sun Medallion (Top)) | Open chest map |
| W2 | Gray |  Lead Overalls Lead Overalls |
Ground Pound | Out of the Woods V2; The Vast Plain V2 | Open chest map |
| W4 | Green |  Golden Left Eye Golden Left Eye |
— | Tower of Revival V4 (also needs Golden Right Eye) | Open chest map |
| W4 | Blue |  Sapling Of Growth Sapling Of Growth |
— | Beneath the Waves V3; The Tidal Coast V4 | Open chest map |
| W5 | Gray |  Explosive Plunger Box Explosive Plunger Box |
— | Cave of Flames V3; The Colossal Hole V4; The Stagnant Swamp V4 | Open chest map |
| W5 | Green |  Red Chemical Red Chemical |
— | Beneath the Waves V4 (also needs Blue Chemical); The Vast Plain V4 (also needs Blue Chemical) | Open chest map |
| W6 | Gray |  Right Glass Eye Right Glass Eye |
— | Tower of Revival V2 (also needs Left Glass Eye) | Open chest map |
| W6 | Green |  Castle Brick Castle Brick |
— | Castle of Illusions V4 | Open chest map |
| S1 | Red |  Truck Wheel Truck Wheel |
— | The Volcano's Base V2 | Open chest map |
| S2 | Gray |  Magic Seeds Magic Seeds |
— | The Grasslands V2; The Pool of Rain V2; The Vast Plain V3 | Open chest map |
| S3 | Gray |  Swimming Flippers Swimming Flippers |
Swim and Dive | The Big Bridge V2; The Pool of Rain V3 | Open chest map |
| S3 | Red |  Garlic Garlic |
Powered Dash Attack | Bank of the Wild River V2; The Colossal Hole V2 | Open chest map |
| S3 | Blue |  Sky Key Sky Key |
— | Above the Clouds V2 | Open chest map |
| S4 | Gray |  Grab Glove Grab Glove |
Grab and Throw | The Big Bridge V3; The Frigid Sea V2; The Tidal Coast V2 | Open chest map |
| S4 | Blue |  Blue Chemical Blue Chemical |
— | Beneath the Waves V4 (also needs Red Chemical); The Vast Plain V4 (also needs Red Chemical) | Open chest map |
| S5 | Gray |  Scepter Scepter |
— | Sea Turtle Rocks V2; The Big Bridge V4; The Frigid Sea V3 | Open chest map |
| S5 | Green |  Pouch Pouch |
— | Out of the Woods V3 (also needs Eye Of The Storm) | Open chest map |
| S5 | Blue |  Scissors Scissors |
— | Above the Clouds V3 | Open chest map |
| S6 | Red |  Fire Drencher Fire Drencher |
— | The East Crater V2; The West Crater V3 | Open chest map |
| S6 | Green |  Jackhammer Jackhammer |
— | The East Crater V3 | Open chest map |
| S6 | Blue |  Pickaxe Pickaxe |
— | The East Crater V4 | Open chest map |
| E1 | Gray |  Flute Flute |
— | The Grasslands V3; The Peaceful Village V2; The Peaceful Village V3; The Volcano's Base V3 | Open chest map |
| E1 | Blue |  Eye Of The Storm Eye Of The Storm |
— | Out of the Woods V3 (also needs Pouch) | Open chest map |
| E2 | Gray |  Head Smash Helmet Head Smash Helmet |
Head Smash | A Town in Chaos V2; Desert Ruins V3 | Open chest map |
| E3 | Gray |  Super Jump Slam Overalls Super Jump Slam Overalls |
Super Ground Pound | Desert Ruins V4; Sea Turtle Rocks V3; The Peaceful Village V4; The West Crater V2 | Open chest map |
| E3 | Green |  Gold Magic Gold Magic |
— | Out of the Woods V4 | Open chest map |
| E3 | Blue |  Rust Spray Rust Spray |
— | Cave of Flames V4; The Steep Canyon V4; The West Crater V4 | Open chest map |
| E4 | Gray |  Left Glass Eye Left Glass Eye |
— | Tower of Revival V2 (also needs Right Glass Eye) | Open chest map |
| E4 | Red |  Air Pump Air Pump |
— | Bank of the Wild River V4; The Pool of Rain V4 | Open chest map |
| E4 | Green |  High Jump Boots High Jump Boots |
High Jump | Cave of Flames V2; The Grasslands V4; The Stagnant Swamp V3 | Open chest map |
| E5 | Gray |  Mystery Handle Mystery Handle |
— | Forest of Fear V3 | Open chest map |
| E5 | Green |  Demon's Blood Demon's Blood |
— | Forest of Fear V4 | Open chest map |
| E6 | Gray |  Super Grab Gloves Super Grab Gloves |
Heavy Grab and Throw | A Town in Chaos V3; Castle of Illusions V3; Forest of Fear V2 | Open chest map |
| E6 | Green |  Night Vision Scope Night Vision Scope |
— | Sea Turtle Rocks V4 | Open chest map |
| E7 | Red |  Red Key Card Red Key Card |
— | The Warped Void V4 (also needs Blue Key Card) | Open chest map |
| E7 | Green |  Warp Removal Apparatus Warp Removal Apparatus |
— | The Warped Void V2; The Warped Void V3 | Open chest map |
| E7 | Blue |  Blue Key Card Blue Key Card |
— | The Warped Void V4 (also needs Red Key Card) | Open chest map |
EARLY MAP CHANGES
Best first map-changing treasures
Axe
N1 Gray Chest. Cuts the overworld tree and opens N2 + N3. The required first map rewrite on a new file.
Blue + Green Tablets
N2 and N3 Gray Chests. Together they open the West map through Desert Ruins.
Lead Overalls
W2 Gray Chest. Permanent Ground Pound and layout unlocks in Out of the Woods and The Vast Plain.
Out of the Woods full guide → · Abilities & powers unlock chart →
FAQ
Map-changing treasures FAQ
Which treasures change the map in Wario Land 3?
Overworld route treasures open new levels and paths after cutscenes. Layout treasures unlock later map variants inside levels you can already enter. Both types are listed in the finder and tables above.
Why are new levels not opening?
You are missing an overworld event requirement. Check the 20-event table for the next blocked region—common early blockers are the Axe, Blue + Green Tablets, scroll halves, Jar rainstorm, and Music Boxes.
How does the overworld map work?
The overworld is a connected graph of 25 levels. Treasure events add edges between levels. Once a path exists, you can travel without replaying the cutscene. Day and night still control which internal level maps you see.
Do ability treasures also change maps?
Yes. Many permanent powers double as layout keys. Lead Overalls, Swimming Flippers, High Jump Boots, Grab Glove, Super Grab Gloves, Garlic, Head Smash Helmet, Prince Frog’s Gloves, and Super Jump Slam Overalls all unlock specific level variants in addition to new moves.
Is every treasure required for the ending?
No. The main ending needs the five Music Boxes. Perfect completion needs all 100 treasures. Map-changing treasures are the ones that keep routes and revisits moving; flavor collectibles may not rewrite the map at all.
What if a chest path is blocked after the level is open?
Open the layout table for that level’s later variants, or check whether you need an ability found elsewhere. Also verify Day vs Night and the map variant on the Room & Target Index.