GUIDE ARTICLES
Wario Land 3 Guides
Interactive walkthroughs, treasure routes, and focused answers for the Game Boy Color adventure.
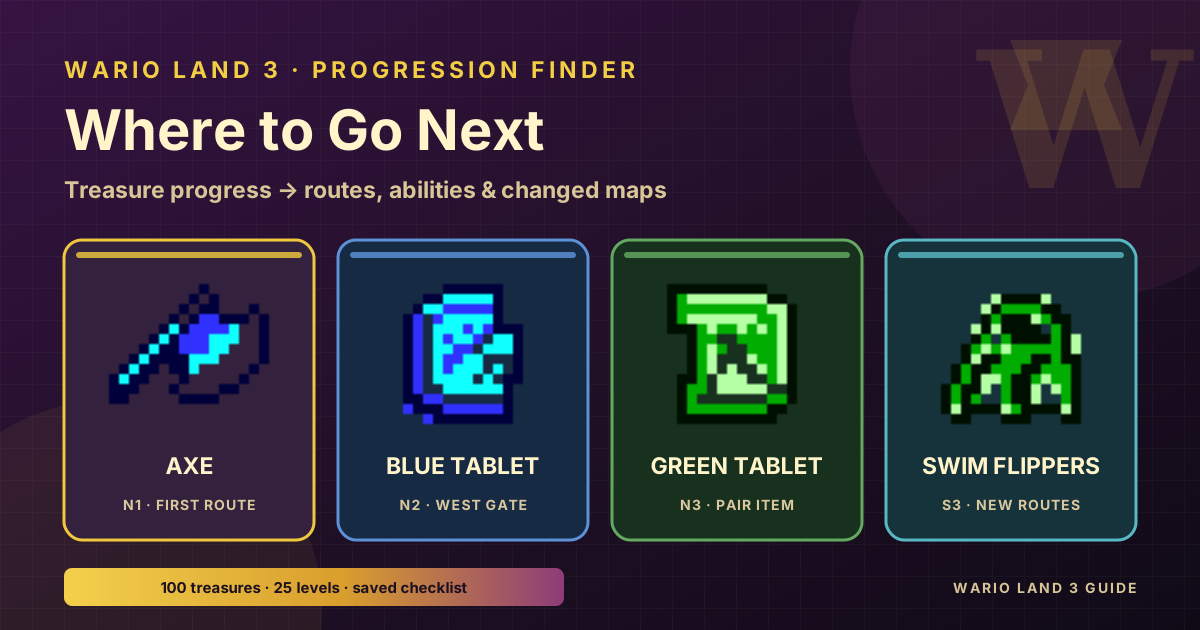 Stuck in Wario Land 3? Where to Go Next
Select the treasures already in your save to see the strongest next leads. The finder calculates connected levels, route-opening chests, permanent abilities, Music Boxes, and the…
Stuck in Wario Land 3? Where to Go Next
Select the treasures already in your save to see the strongest next leads. The finder calculates connected levels, route-opening chests, permanent abilities, Music Boxes, and the…
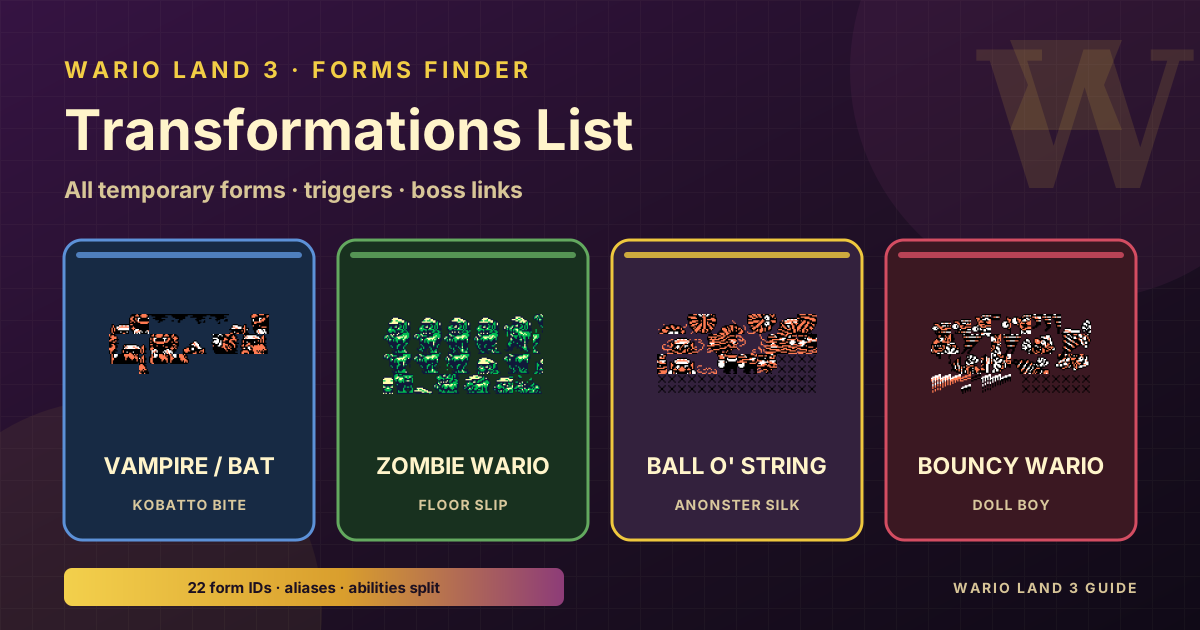 Transformations and Temporary Forms List
Wario Land 3’s temporary forms are separate from permanent ability treasures. Use the finder below for the full transformations list—Zombie, Vampire (Bat), Fat, Hot, Bouncy, Owl,…
Transformations and Temporary Forms List
Wario Land 3’s temporary forms are separate from permanent ability treasures. Use the finder below for the full transformations list—Zombie, Vampire (Bat), Fat, Hot, Bouncy, Owl,…
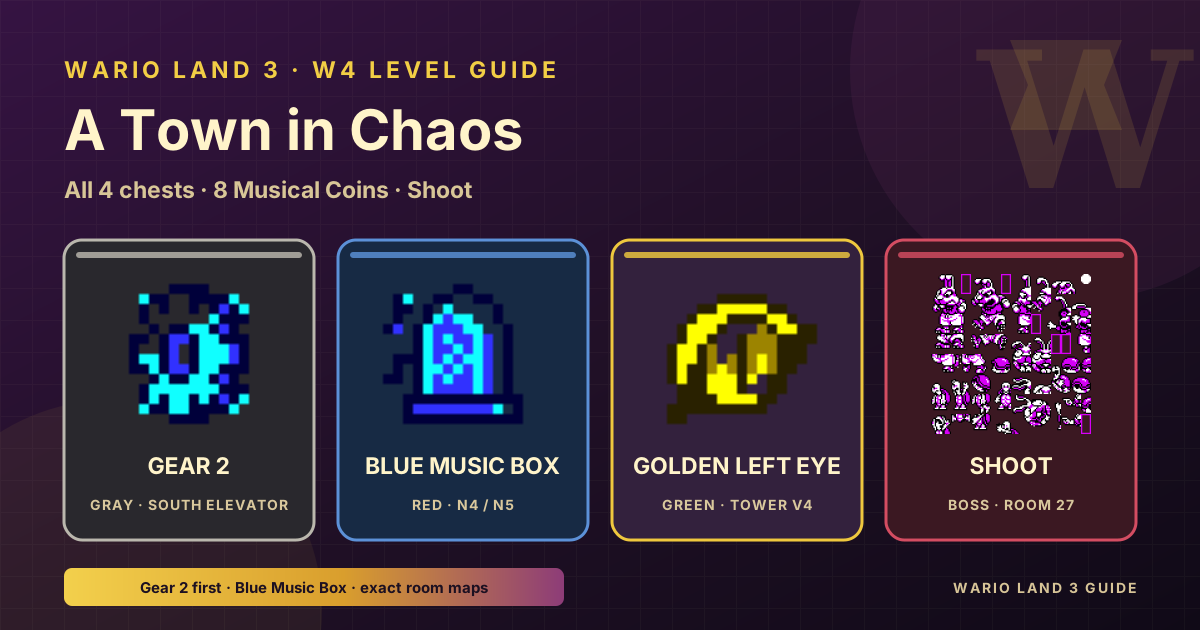 A Town in Chaos Walkthrough and Checklist
A Town in Chaos (W4) opens with the Jar rainstorm that links the western waterways. Use the finder below for every Gray, Red, Green, and Blue chest, all eight Musical Coins, and…
A Town in Chaos Walkthrough and Checklist
A Town in Chaos (W4) opens with the Jar rainstorm that links the western waterways. Use the finder below for every Gray, Red, Green, and Blue chest, all eight Musical Coins, and…
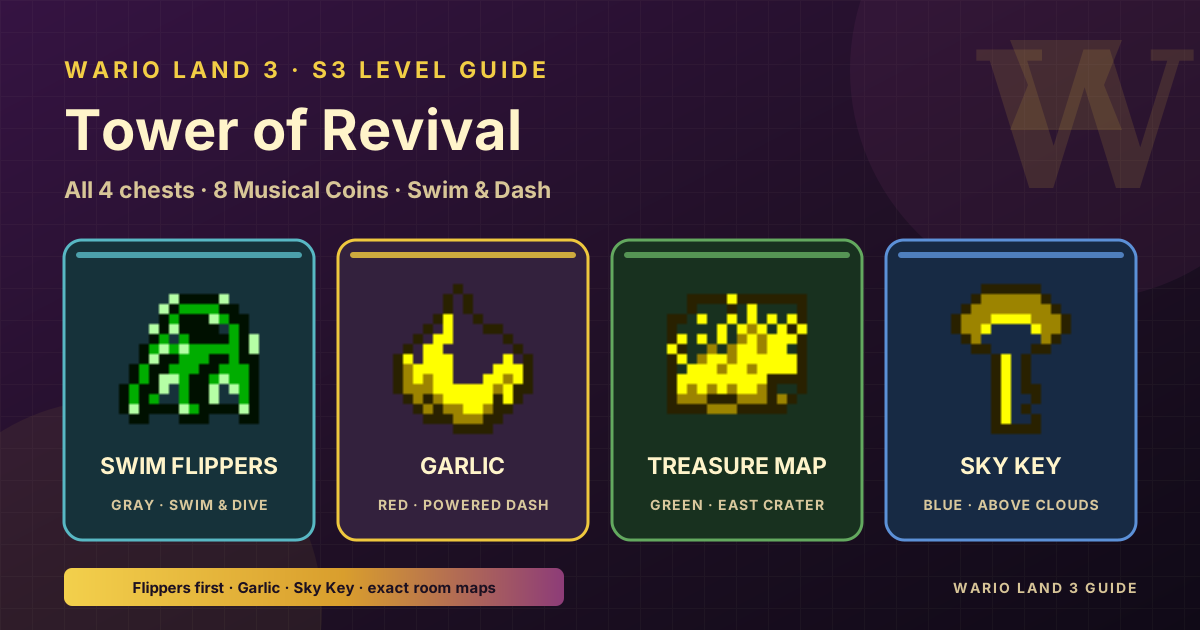 Tower of Revival Walkthrough and Checklist
Tower of Revival (S3) is the South ability hub in Wario Land 3. Use the finder below for every Gray, Red, Green, and Blue chest and all eight Musical Coins—with exact room-map…
Tower of Revival Walkthrough and Checklist
Tower of Revival (S3) is the South ability hub in Wario Land 3. Use the finder below for every Gray, Red, Green, and Blue chest and all eight Musical Coins—with exact room-map…
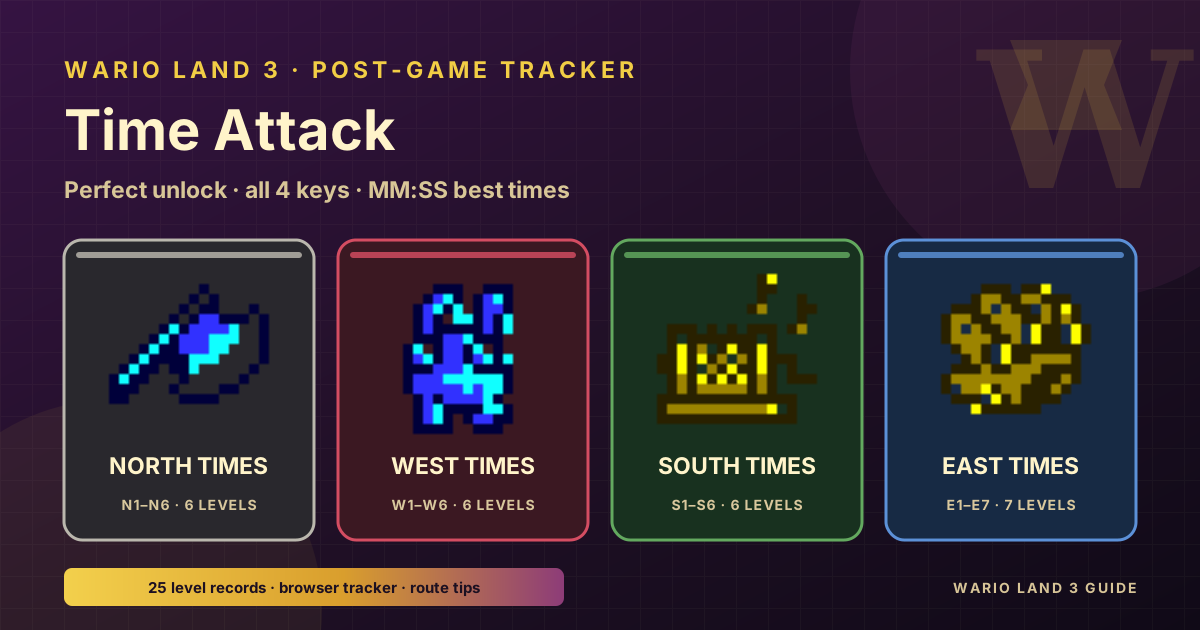 Time Attack Unlock and Level Tracker
Time Attack is Wario Land 3’s post-game speed challenge. Unlock it with a Perfect clear, then re-enter any of the 25 levels, grab all four keys, and race to the exit for an MM:SS…
Time Attack Unlock and Level Tracker
Time Attack is Wario Land 3’s post-game speed challenge. Unlock it with a Perfect clear, then re-enter any of the 25 levels, grab all four keys, and race to the exit for an MM:SS…
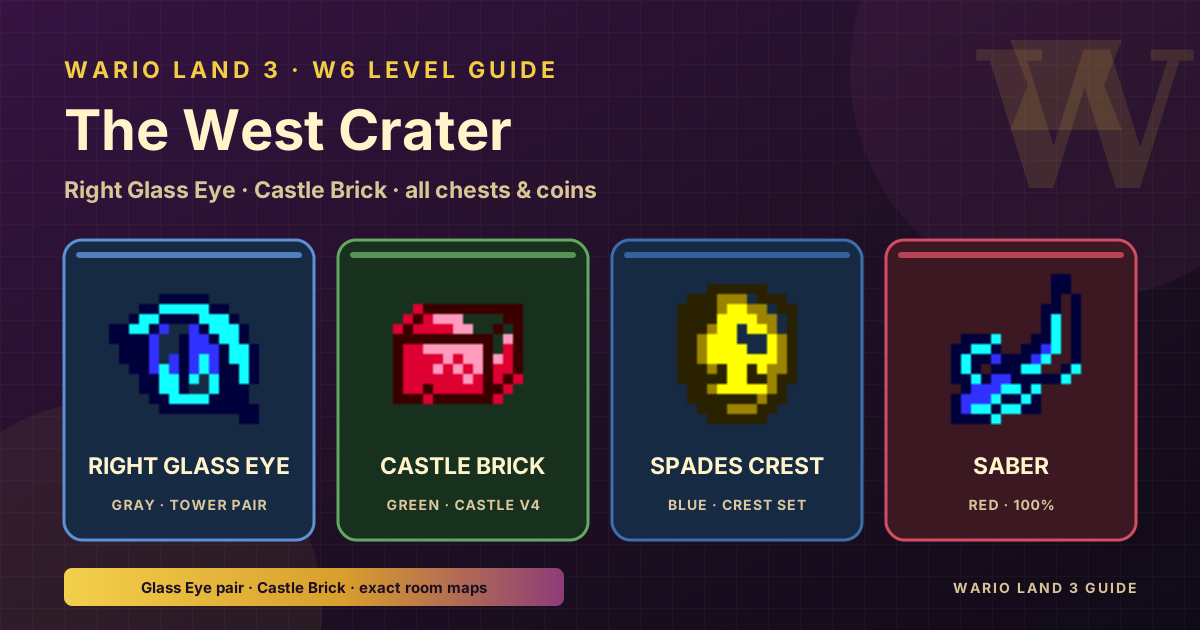 The West Crater Walkthrough and Checklist
The West Crater (W6) opens after the volcano eruption set. Use the finder below for every Gray, Red, Green, and Blue chest, the Right Glass Eye (Tower of Revival V2 pair), Castle…
The West Crater Walkthrough and Checklist
The West Crater (W6) opens after the volcano eruption set. Use the finder below for every Gray, Red, Green, and Blue chest, the Right Glass Eye (Tower of Revival V2 pair), Castle…
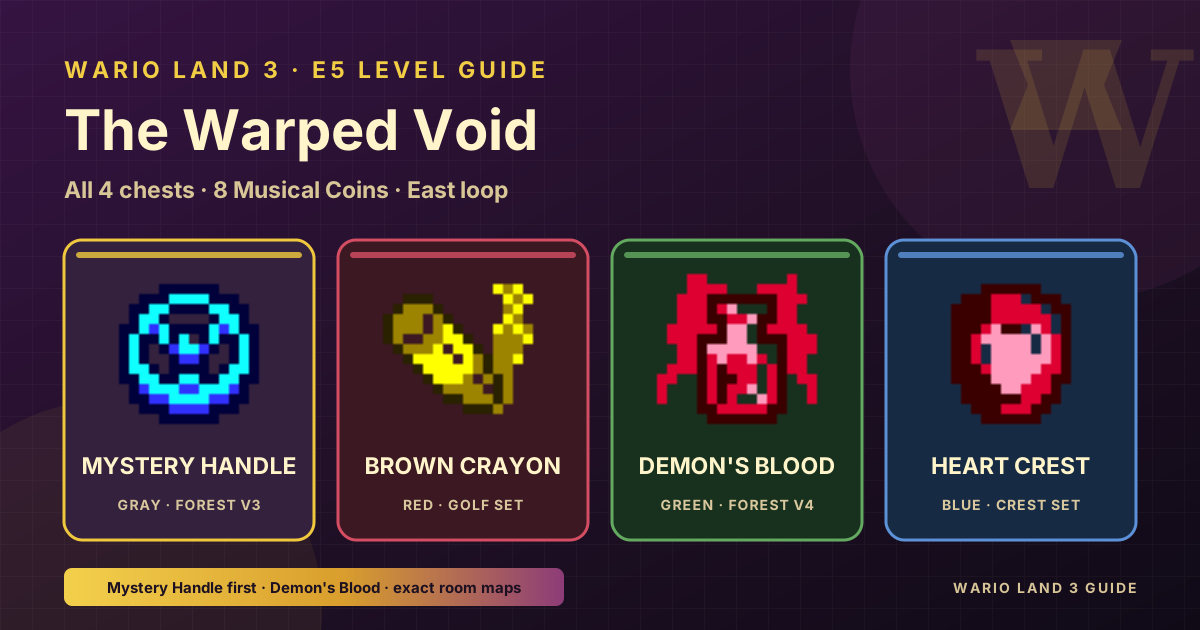 The Warped Void Walkthrough and Checklist
The Warped Void (E5) is the late-east void stage revealed after the Warp Compact. Use the finder below for every Gray, Red, Green, and Blue chest, all eight Musical Coins, and…
The Warped Void Walkthrough and Checklist
The Warped Void (E5) is the late-east void stage revealed after the Warp Compact. Use the finder below for every Gray, Red, Green, and Blue chest, all eight Musical Coins, and…
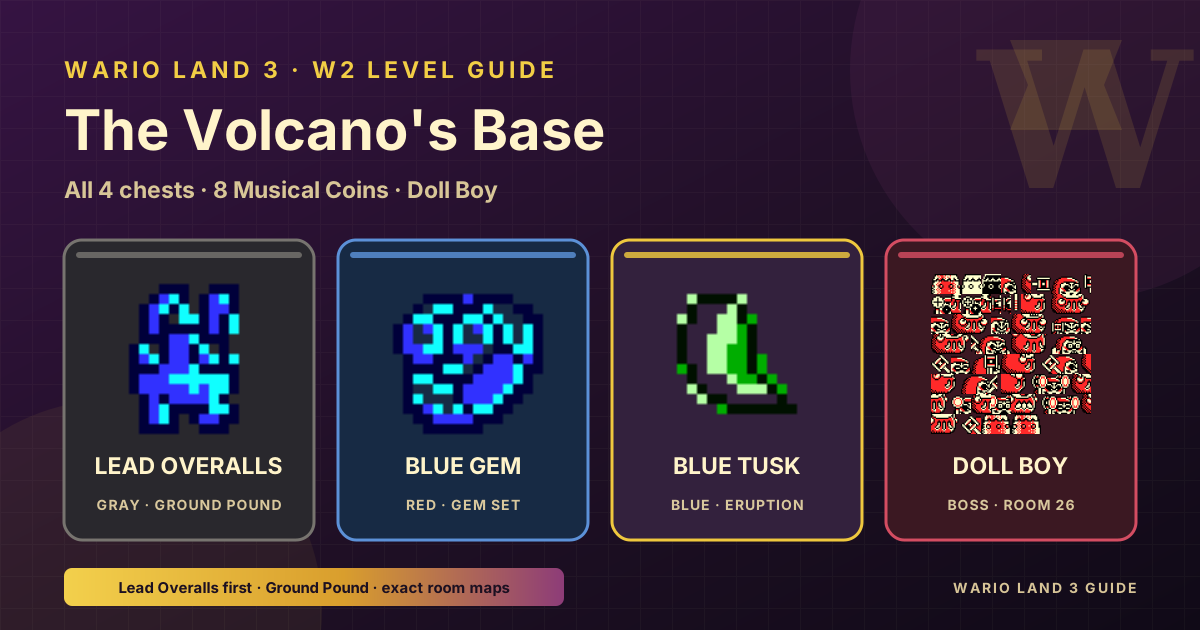 The Volcano's Base Walkthrough and Checklist
The Volcano's Base (W2) opens after the Desert Ruins scroll clears the tornado. Use the finder below for every Gray, Red, Green, and Blue chest, all eight Musical Coins, and the…
The Volcano's Base Walkthrough and Checklist
The Volcano's Base (W2) opens after the Desert Ruins scroll clears the tornado. Use the finder below for every Gray, Red, Green, and Blue chest, all eight Musical Coins, and the…
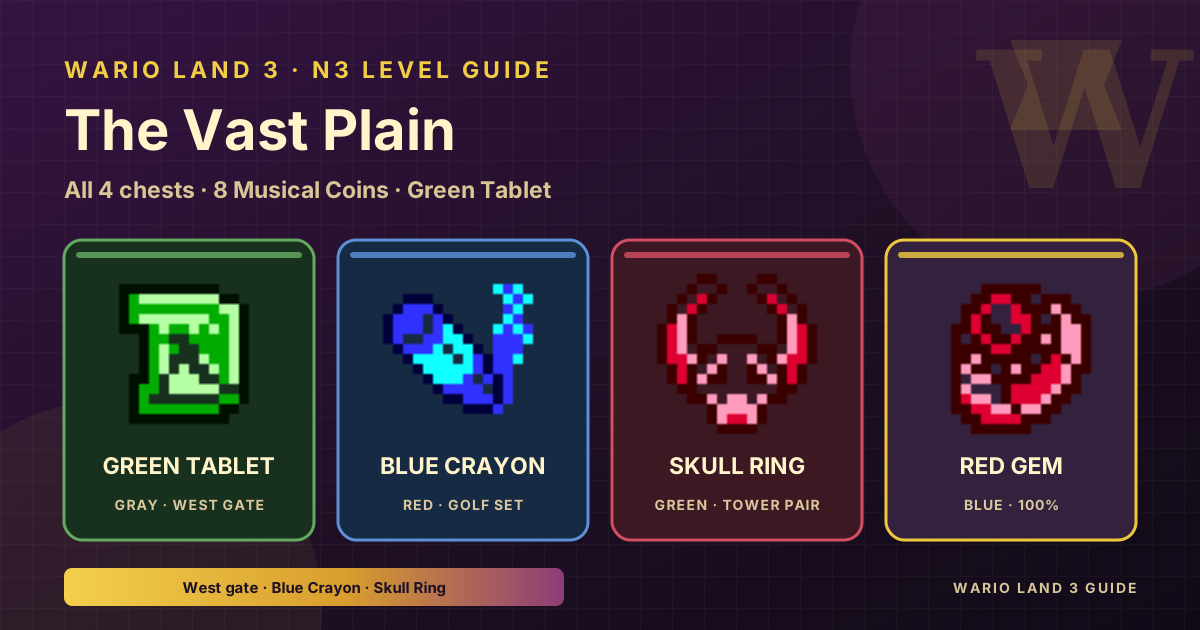 The Vast Plain Walkthrough and Checklist
The Vast Plain (N3) opens with N2 after the Axe cuts the North tree. Use the finder below for every Gray, Red, Green, and Blue chest, all eight Musical Coins, and exact room-map…
The Vast Plain Walkthrough and Checklist
The Vast Plain (N3) opens with N2 after the Axe cuts the North tree. Use the finder below for every Gray, Red, Green, and Blue chest, all eight Musical Coins, and exact room-map…
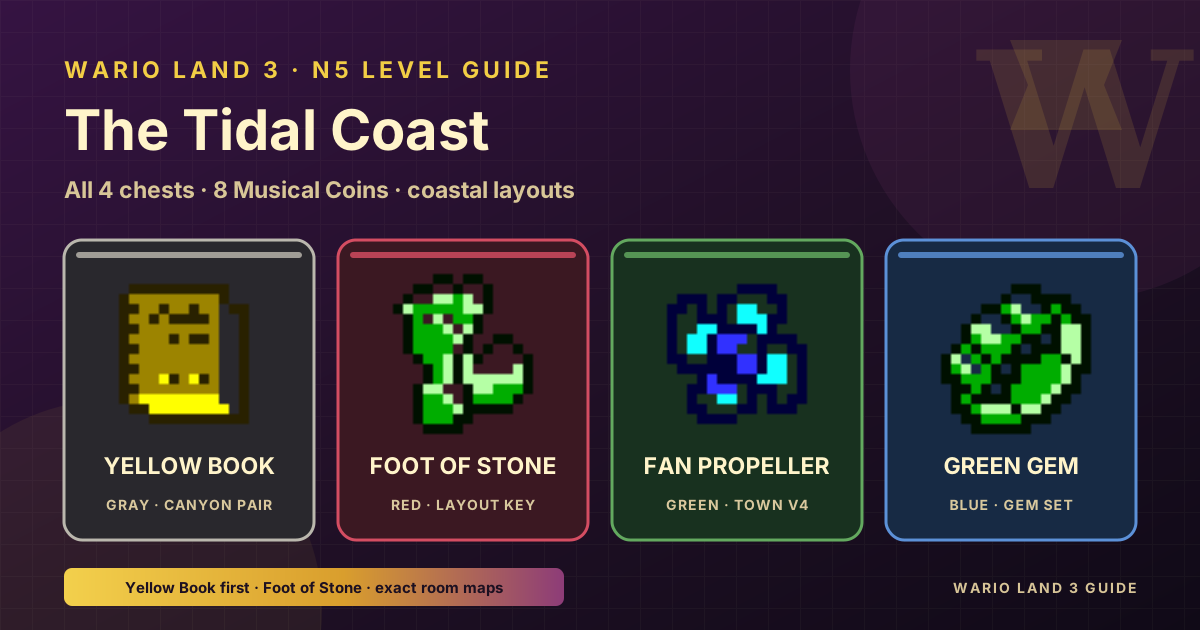 The Tidal Coast Walkthrough and Checklist
The Tidal Coast (N5) opens with N4 after you play the Blue Music Box. Use the finder below for every Gray, Red, Green, and Blue chest and all eight Musical Coins—with exact…
The Tidal Coast Walkthrough and Checklist
The Tidal Coast (N5) opens with N4 after you play the Blue Music Box. Use the finder below for every Gray, Red, Green, and Blue chest and all eight Musical Coins—with exact…
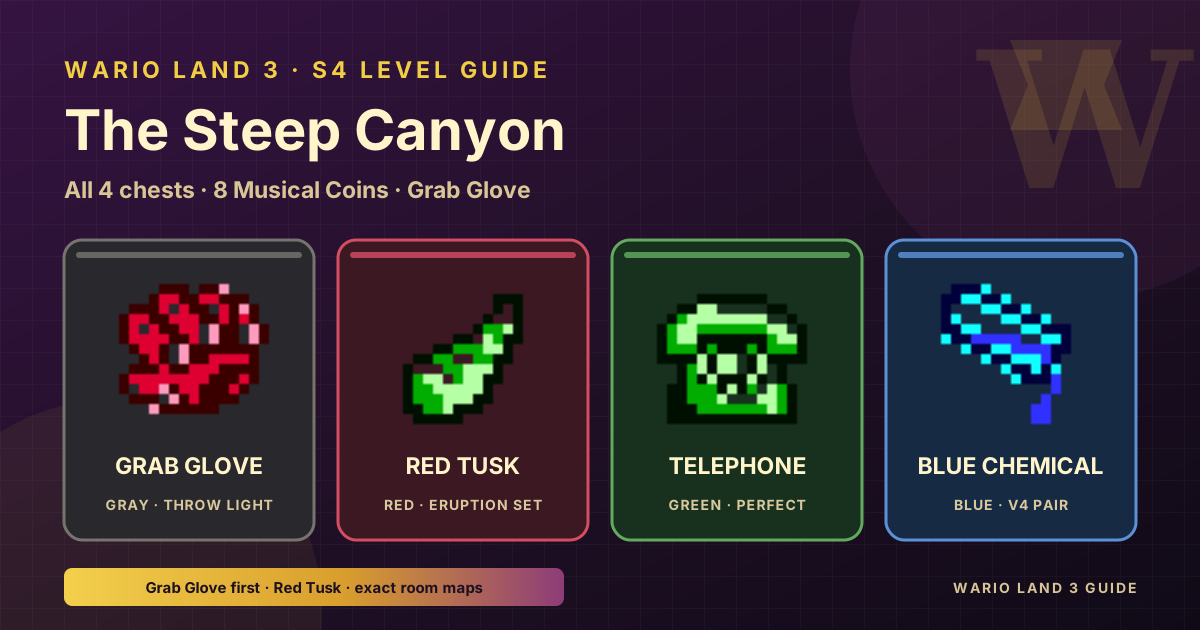 The Steep Canyon Walkthrough and Checklist
The Steep Canyon (S4) opens after the Trident and Yellow Book call lightning over the canyon from The Big Bridge. Use the finder below for every Gray, Red, Green, and Blue chest…
The Steep Canyon Walkthrough and Checklist
The Steep Canyon (S4) opens after the Trident and Yellow Book call lightning over the canyon from The Big Bridge. Use the finder below for every Gray, Red, Green, and Blue chest…
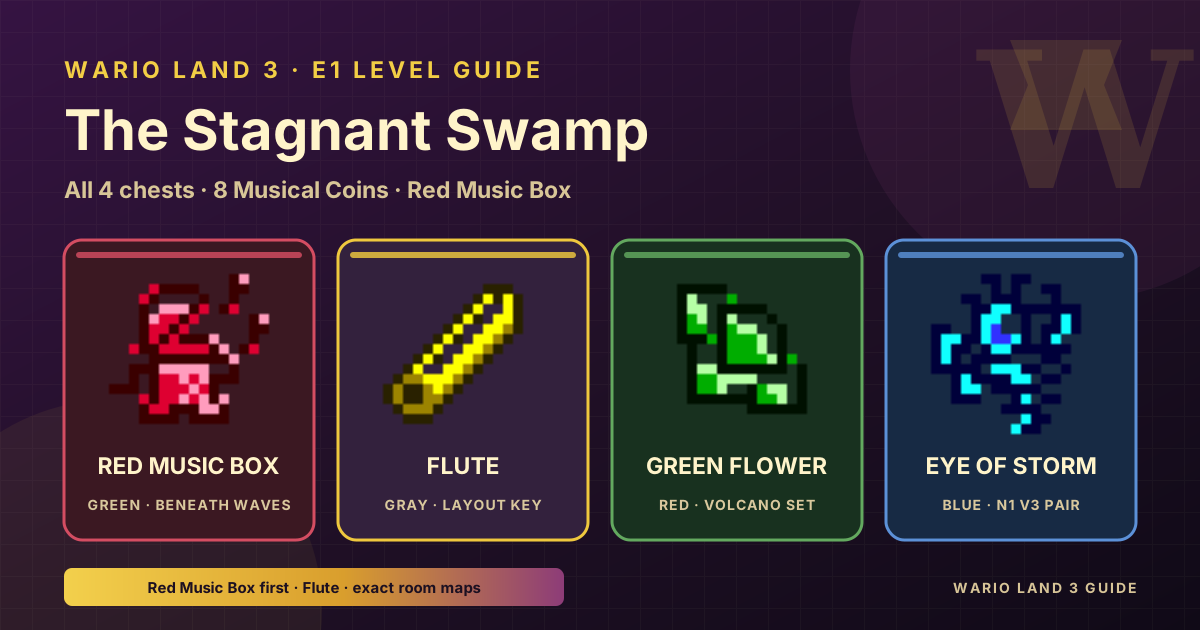 The Stagnant Swamp Walkthrough and Checklist
The Stagnant Swamp (E1) is the East-map hub in Wario Land 3. It holds the Red Music Box , the Flute layout key, the Green Flower volcano piece, and the Eye of the Storm . Use the…
The Stagnant Swamp Walkthrough and Checklist
The Stagnant Swamp (E1) is the East-map hub in Wario Land 3. It holds the Red Music Box , the Flute layout key, the Green Flower volcano piece, and the Eye of the Storm . Use the…
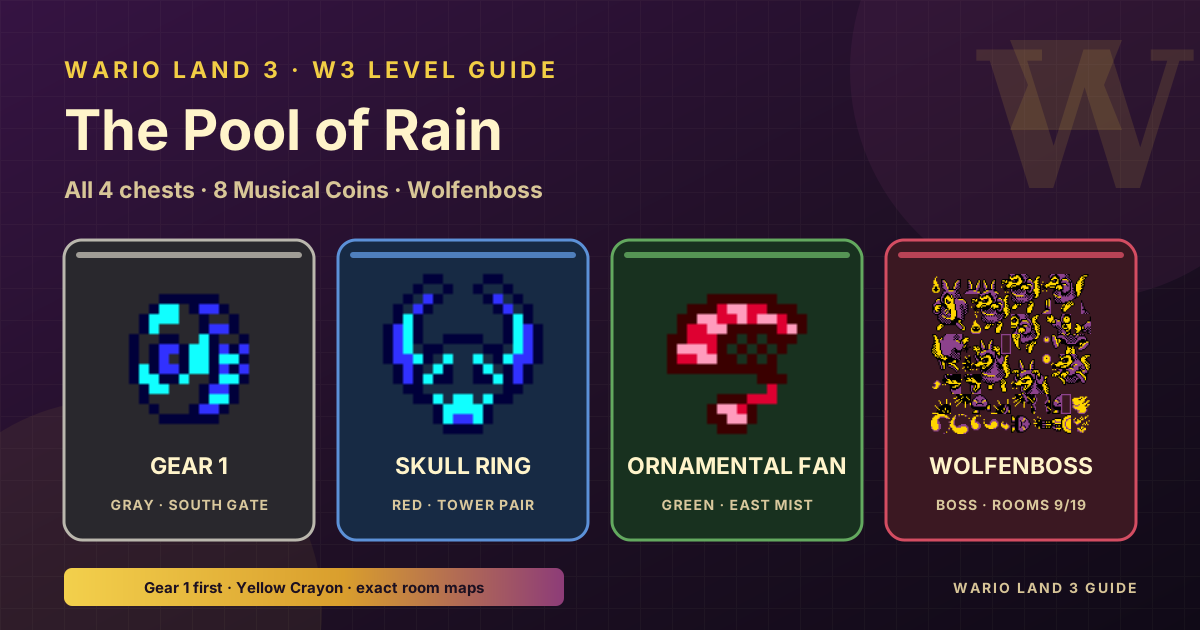 The Pool of Rain Walkthrough and Checklist
The Pool of Rain (W3) opens after the Jar rainstorm links the western waterways. Use the finder below for every Gray, Red, Green, and Blue chest, all eight Musical Coins, and the…
The Pool of Rain Walkthrough and Checklist
The Pool of Rain (W3) opens after the Jar rainstorm links the western waterways. Use the finder below for every Gray, Red, Green, and Blue chest, all eight Musical Coins, and the…
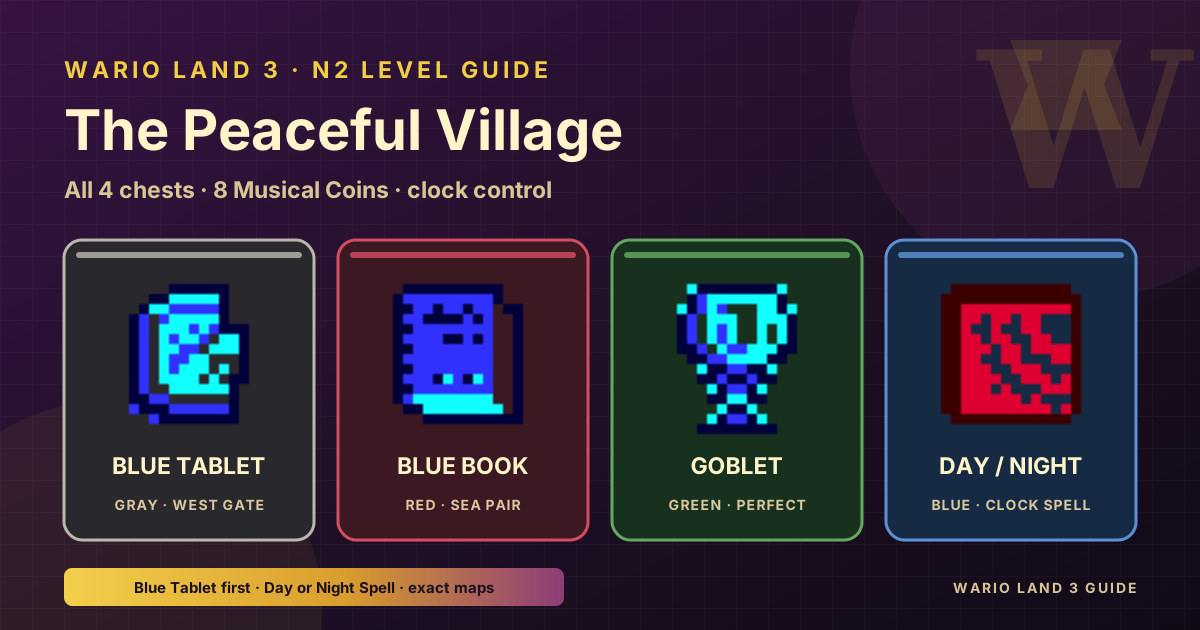 The Peaceful Village Walkthrough and Checklist
The Peaceful Village (N2) opens after the Axe cuts the North tree. Use the finder below for every Gray, Red, Green, and Blue chest, all eight Musical Coins, and the exact room-map…
The Peaceful Village Walkthrough and Checklist
The Peaceful Village (N2) opens after the Axe cuts the North tree. Use the finder below for every Gray, Red, Green, and Blue chest, all eight Musical Coins, and the exact room-map…
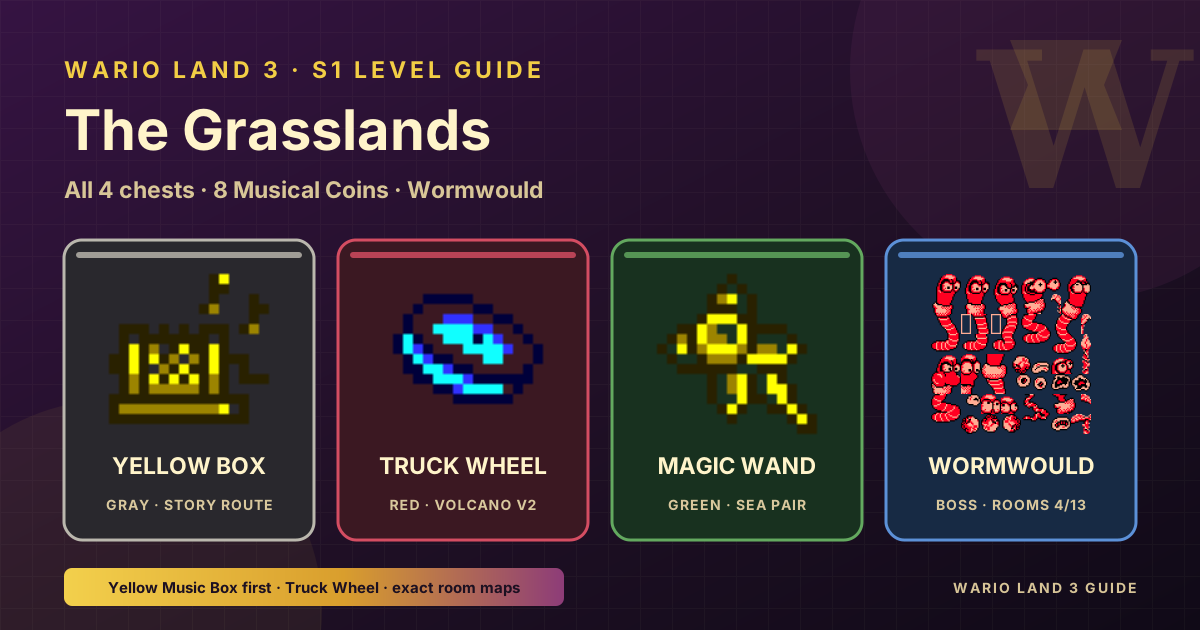 The Grasslands Walkthrough and Checklist
The Grasslands (S1) is the South entry stage after the Gear elevator from A Town in Chaos. Use the finder below for every Gray, Red, Green, and Blue chest, all eight Musical Coins,…
The Grasslands Walkthrough and Checklist
The Grasslands (S1) is the South entry stage after the Gear elevator from A Town in Chaos. Use the finder below for every Gray, Red, Green, and Blue chest, all eight Musical Coins,…
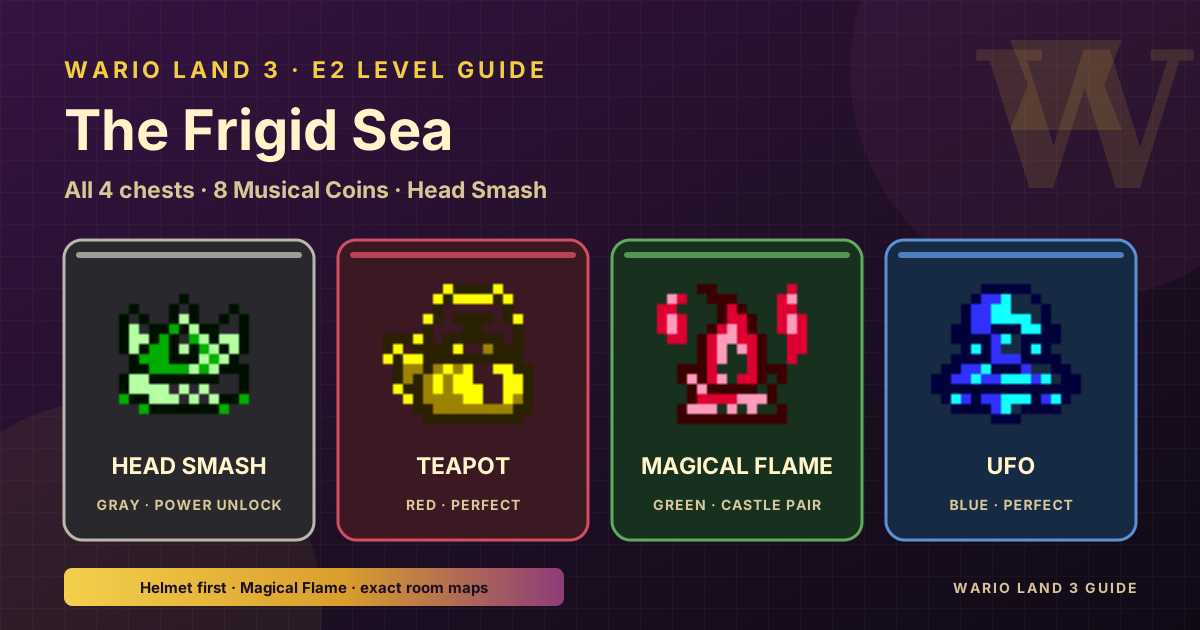 The Frigid Sea Walkthrough and Checklist
The Frigid Sea (E2) is the frozen eastern level that opens after Blue Book and Magic Wand freeze a path from The Stagnant Swamp. Use the finder below for every Gray, Red, Green,…
The Frigid Sea Walkthrough and Checklist
The Frigid Sea (E2) is the frozen eastern level that opens after Blue Book and Magic Wand freeze a path from The Stagnant Swamp. Use the finder below for every Gray, Red, Green,…
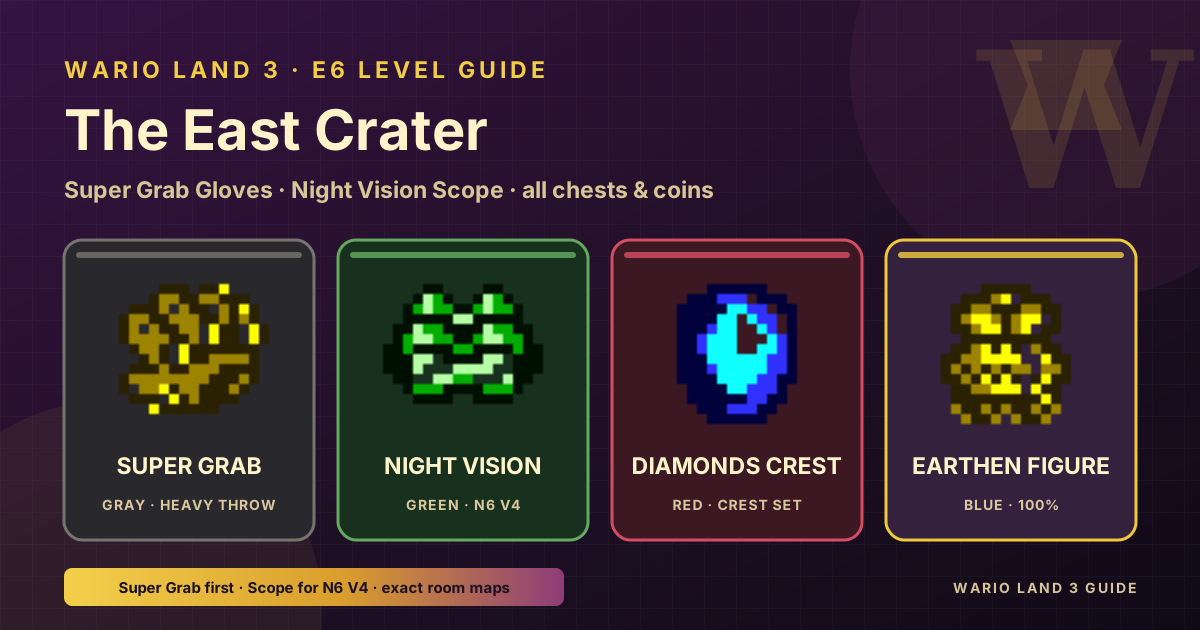 The East Crater Walkthrough and Checklist
The East Crater (E6) is the late eastern crater that opens after you read the Treasure Map from Tower of Revival. Use the finder below for every Gray, Red, Green, and Blue chest,…
The East Crater Walkthrough and Checklist
The East Crater (E6) is the late eastern crater that opens after you read the Treasure Map from Tower of Revival. Use the finder below for every Gray, Red, Green, and Blue chest,…
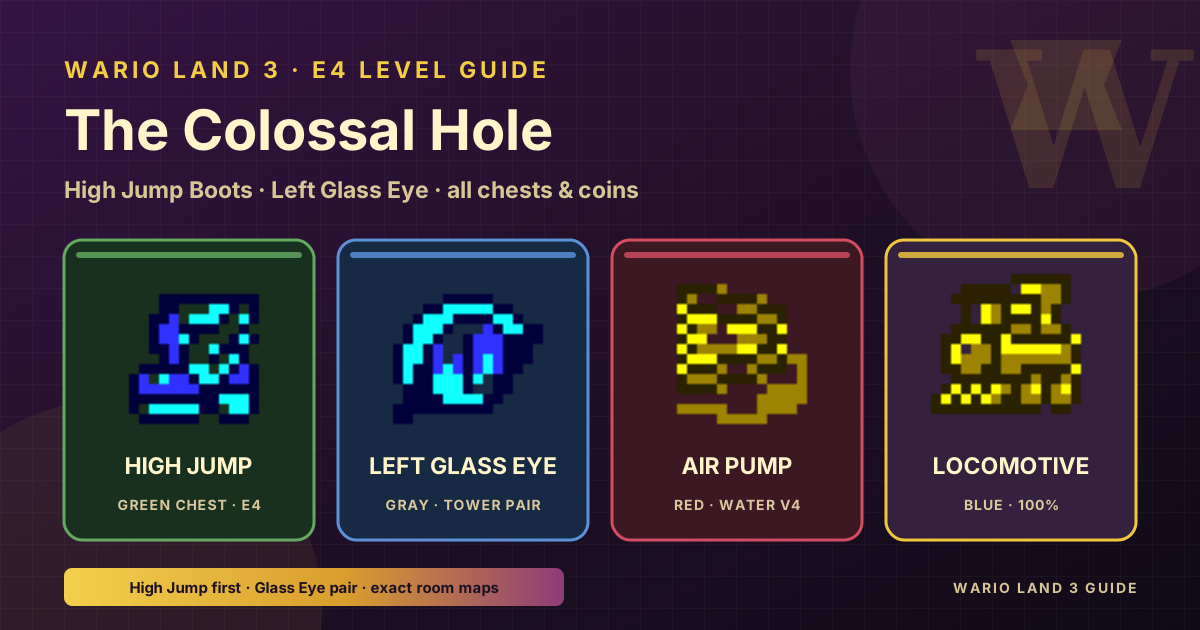 The Colossal Hole Walkthrough and Checklist
The Colossal Hole (E4) is the deep eastern cavern that opens after the volcano set erupts a path from The Frigid Sea. Use the finder below for every Gray, Red, Green, and Blue…
The Colossal Hole Walkthrough and Checklist
The Colossal Hole (E4) is the deep eastern cavern that opens after the volcano set erupts a path from The Frigid Sea. Use the finder below for every Gray, Red, Green, and Blue…
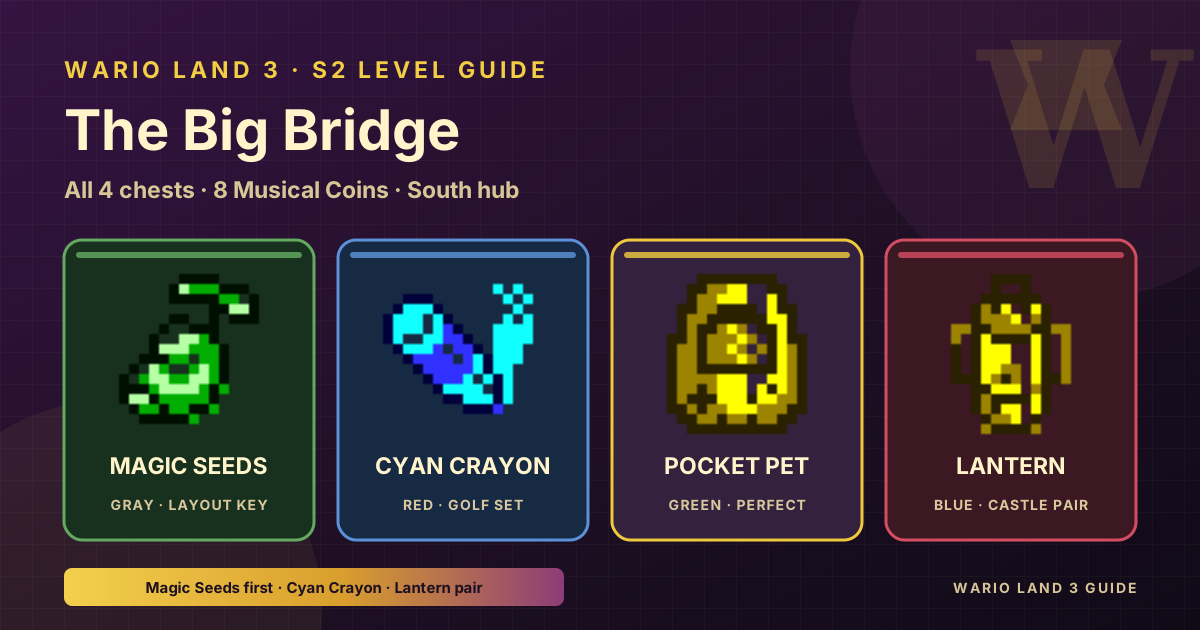 The Big Bridge Walkthrough and Checklist
The Big Bridge (S2) is the South hub that opens after you play the Yellow Music Box from The Grasslands. Use the finder below for every Gray, Red, Green, and Blue chest plus all…
The Big Bridge Walkthrough and Checklist
The Big Bridge (S2) is the South hub that opens after you play the Yellow Music Box from The Grasslands. Use the finder below for every Gray, Red, Green, and Blue chest plus all…
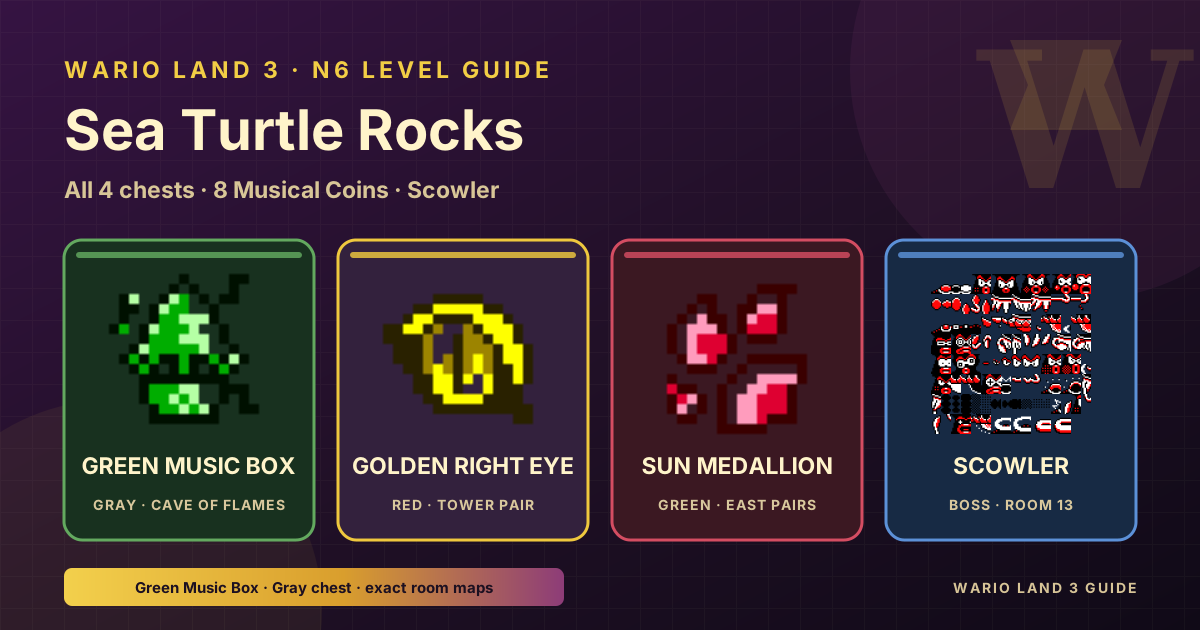 Sea Turtle Rocks Walkthrough and Checklist
Sea Turtle Rocks (N6) is the far North island stage. Garlic opens the path from The Tidal Coast. Use the finder below for every Gray, Red, Green, and Blue chest, all eight Musical…
Sea Turtle Rocks Walkthrough and Checklist
Sea Turtle Rocks (N6) is the far North island stage. Garlic opens the path from The Tidal Coast. Use the finder below for every Gray, Red, Green, and Blue chest, all eight Musical…